I love Easter, so I made some cards. I used "everyday pop-ups" cartridge for my cricut & got busy with some pre-made blank cards & envelopes. This recollections brand paper (Lumiere) is so pretty, it has a faint shimmer in the light. I used 4 colours & mixed & matched the butterfly cutouts with the backings. Strong double stick tape is best for attaching the pop-up mechanisms to the cards & attachments. Regular glue is fine for putting layers together. There's lots of awesome youtube videos & sites showing wonderful 3D & pop-up paper creations.
 |
| There is little bits of foam adhesive squares in between to puff them apart a bit. This is an elongated U mechanism, for lack of better description. It was a bit of a trick to figure out, but it is basically folded zig-zags & between these 2 pictures you can get the idea of how it is attached. |

These were fun to put together. They're pretty basic looking as far as cards go, I figured the star was the inside mechanism so no need to over-do it.
Here is how they look opened up. The flower opens with a twist counterclockwise, & needs a bit of help to twist back (clockwise) to close the card again. They do get better with repeated handling. They stay propped up nicely on their own.

This is the mechanism that holds the twist of the flower. It is all predetermined sizes on the cartridge & I admit, I'm not great at noting that stuff. I think I cut it out at 5" & the 3 flower layers & this twist thing are all sized proportionally. There are teeny tiny score marks that show where to fold the paper. Pre-scoring definitely makes nicer creases. I used pen on this to help it show up better. A dead ballpoint pen & little ruler make perfect inexpensive scoring tools. See where my finger points at the X & broken line? I found that cutting that piece away on each side greatly improved how well it opens & closes. The black lines show the folds: the diagonal X is folded "mountain fold" with the peaks up, the horizontal line is folded "valley fold" with the peak down. This thing gets applied to the card opening right to left oriented just like the below picture. When it is closed compacts in on itself & become 2 triangles with tabs. See the triangles? They are where you attach the flowers or whatever you like. I have visions of happy faces, or even better would be creepy faces, he he he!

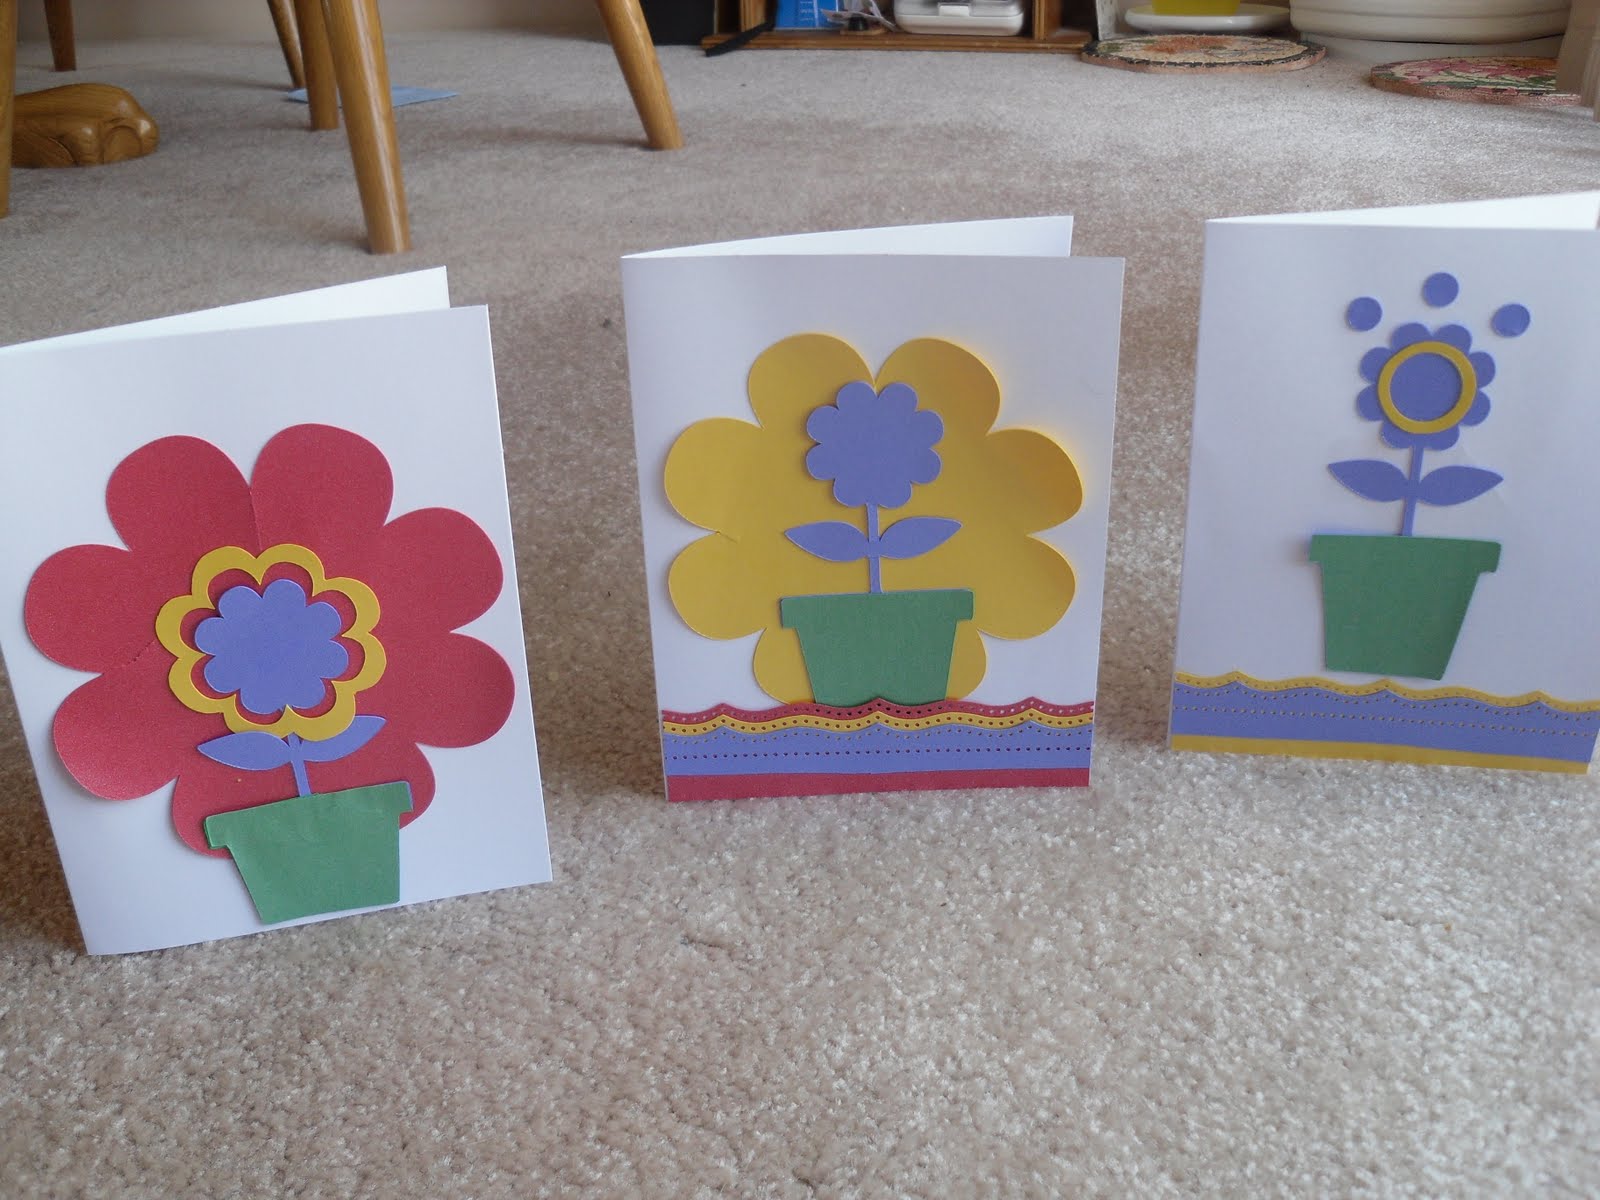
Card fronts, using Easter Seasonal 2010 cartridge, and a martha stewart punch to make the ripples & dotty layers. never mind my table & chair legs, blood pressure monitor etc in the background :)

After I figured out how to modify the twist mechanism I tried one with the biggest size flower, the trick is not to expect to glue it right snug into the centre of the flower. I found if I glued one side in then I could align the other side in easier.

Happy Spring to you!
Love the pop up cards. I really want this cartridge.
ReplyDeleteThanks! There's better & better instructions coming all the time, they are fun to play with:)
ReplyDeleteThese are great! Thanks for the wonderful instructions. Your instructions added to the printouts from the Circle Blog will make this so much easier to understand.
ReplyDelete