Monday, July 25, 2011

The rest of the challenges

To follow up on the last entry, there are 3 more challenges for the online swarm.  I've just finished up & will go back and add another picture to the truck layout from yesterday. I used papers from my stash that are muted looking Christmas inspiring to keep with the theme, Christmas in July.   The light was changing in the evening so the colour isn't accurate on these pictures but it gives the idea so I can enter the contest!

Challenge #4 is to use fibres, ribbon, or twine on a project.  I used Mini Monograms for the stitch slider, then 4 strands of 6 strand green embroidery floss to fill in the stitching.  I used green ribbon for the slider from my stash.  I used Smiley cards digital gypsy cartridge for the smilie dude.  The same sheet of dual sided paper was used for this card.  Smiley dude details were outlined with a plum marker, pink marker, black marker, and a white gelly roll pen by sakura to make the eyes white.  I used my mini stapler to attach the ribbon and base to the card.  Smiley dude was popped up with a piece of cardboard to raise him up.  I left him to slide freely up & down to allow the effect of enthusiastic jumping up & down : )
 Challenge #5 is Simon says 1 or 3.
a.  use 3 score lines
b.  use the colours red, green, gold
c.  make a mini card, gift holder, or mini envelope for journaling.
I chose the matchbook from Fabulous finds cartridge and made little notebooks from scrap paper from the heap of papers that came home at the end of school year.  The matchbook is 7" x 2.75".  Then after scoring, folding, filling with 2.5" wide scrap paper, stapling with the mini stapler it is 3" x 3".  I used a strip of making memories brand textured tape to cover the staples and leftover snowflakes that I cut extra from for challenge 1 (from Christmas gypsy digital download cartridge from ConTac paper).  I used yellow sharpie to make  the snowflake yellow but it didn't show up very well.
 The final challenge, #6 was to make gift tags for packages.  The goal is to inspire people involved in the gift tag swap, I declined that swap.  I chose several from Fabulous Finds gypsy digital download cartridge at 2.5" tall and filled up the mat to cut a bunch.  Why not, they're small and cute.  I rushed the pictures & forgot to add ribbon hang strings, I will use more embroidery floss for that.  The light was changing in the evening so the colour isn't showing accurately.  These are the same papers, just reflecting light differently.
 The above pictures show what they look like scored but not assembled.  The lower picture shows how they look after assembly.  I cut out some tri-fold tags & those are at the top of the lower picture, the one on the left is centre folded, the one on the right is accordion folded.  They're very simple but the intricate paper does all the decorative work, YAY!  The 3 pockets at the bottom have matching tabbed inserts that can be pulled out for secret messages.  The one on the bottom left has 2 inserts pulled out so show how it looks empty.  This makes them re-useable, when the insert is used up, the plain part can be written on.
I wasn't going to join in on the charm swap, but then decided to go for it.  I will have to figure out what image to cut to make 20+ 1.5" charms from shrink plastic following the Christmas or winter theme.  That's due by August 13 so I will show when I get them done.  Its so great to join in and get out of my comfort zone to try some challenges.  I've been rushing through these projects, but I'm so energized from success that its worth it!

Saturday, July 23, 2011

Another online swarm

There is big cricut events in the USA right now involving crafters who use cricut machines, aka "a swarm."  Often there is an organized online swarm with challenges and its online right now.  The organizers post challenges each day.  The theme of this online swarm is "Christmas in July."  I'm sure the theme is picked by people that have had spring & summer.  We've had 23+ days of grey & rain so its an especially tough theme for me after factoring in a late spring.  The challenges are flexible which is nice so many people can interpret the criteria and have some fun.

Chalenge # 1 is to create a scrapbook layout or a card based on a predesigned, pre-chosen template from www.pagemaps.com  The best thing about these templates is there is room for playing around.  It can be reversed or flipped, 4 small elements can be reinterpreted as one large square, elements can be swapped by gender or purpose...  The pagemap just lays out the formula for balance & design so you don't have to stress out, just play around.

I used Dude Lite cartridge for the tread border, the gear, and the splat.  I used Indie Art Cartridge for the cassette tape.  I had trouble with the colour ranges to make the pictures show up on grey winter coloured background paper.  The red really shows contrast while there is room to hand write more details between the tape & the splat.  I grunged up the cassette tape with various inks to make it look more masculine.
Edited to add:  I forgot that I had some making memories brand glitter chipboard accents that perfectly match the truck colour.  I like how it zips it up a bit, not quite girlie but some bling is nice.

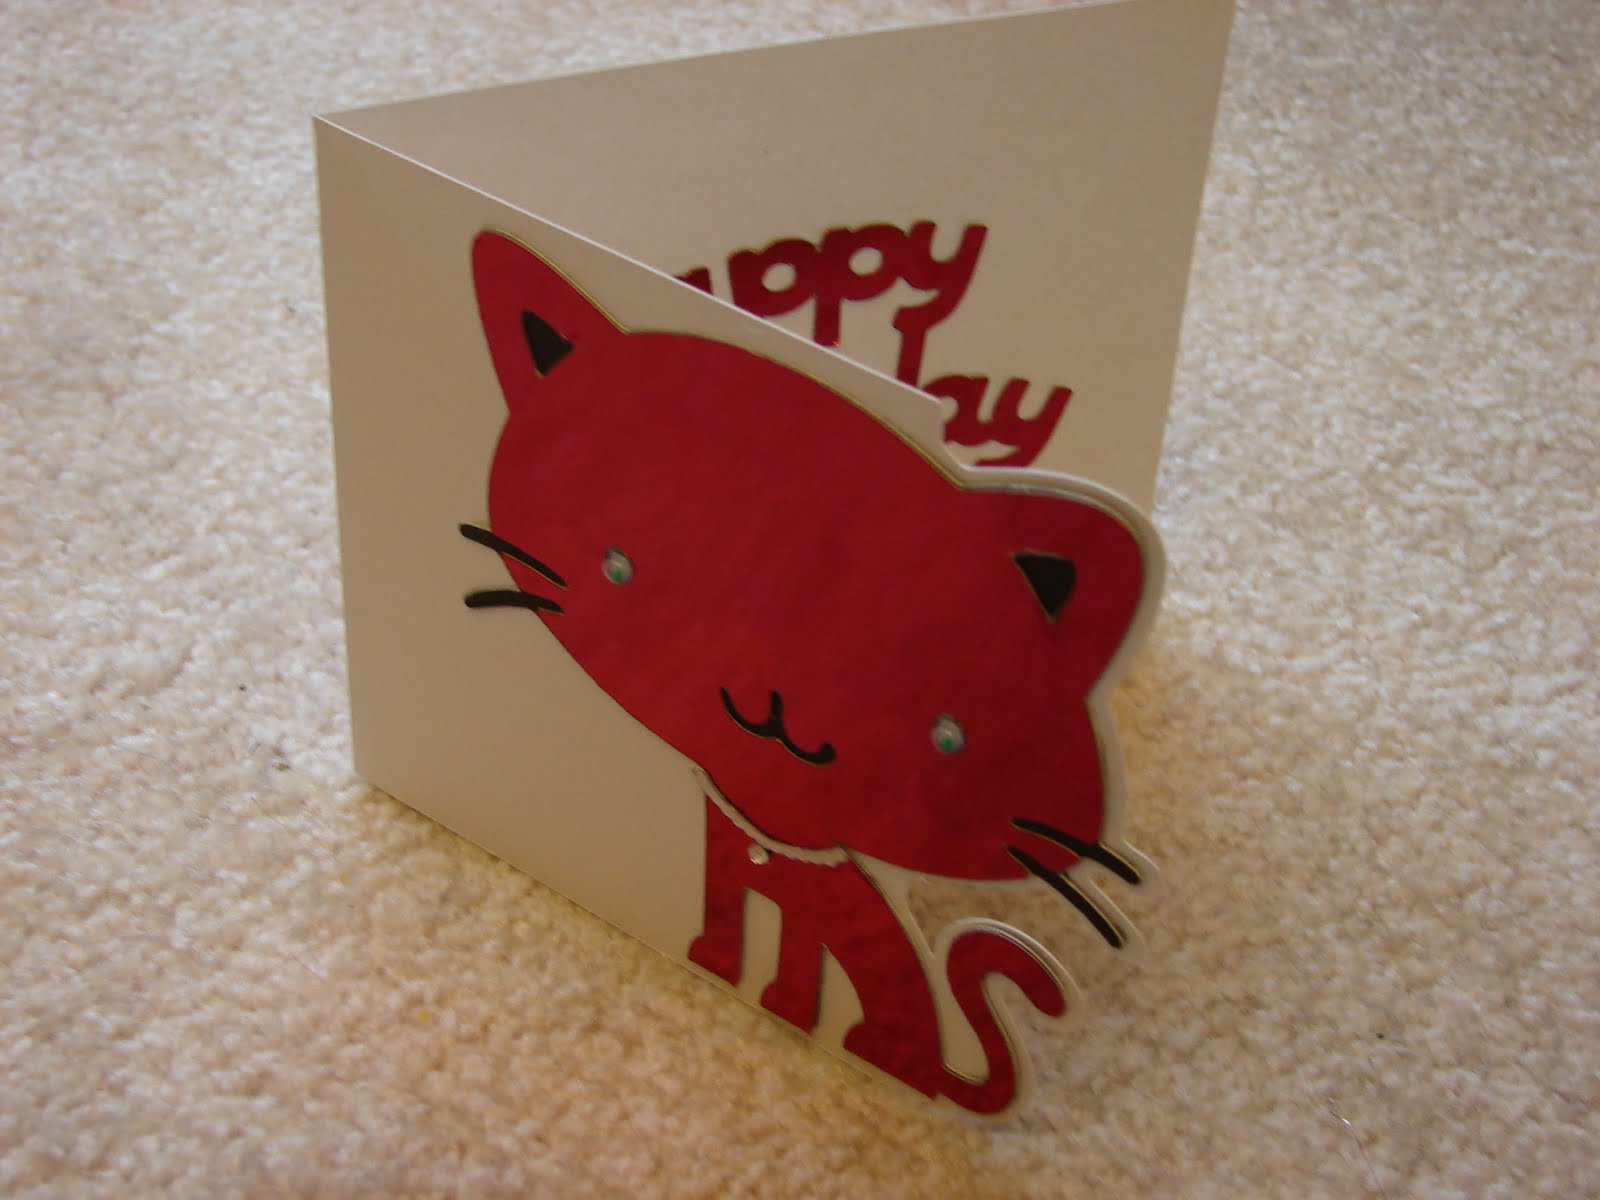
Challenge #2 is to create a card, layout, or 3D element in Christmas or winter theme.  I used the card pagemap for a Christmas card. 

  I used the Christmas digital gypsy cartridge for the tree and "Seasons Greetings" on a shadow of green vellum.  The base rectangle is red spotty paper from my stash. Next there is a vellum white polkadots overlay.  The tree, words & snowflake are cut from silver ConTac paper, but on top of their own shadow layer of green vellum.  The sun came out briefly & really surprised me with strong contrast.  I will have to redo these pictures later some time.

 Challenge #3 is to step out of your comfort zone.  
If you are a card maker, make a scrapbook layout.  
If you are a scrapbooker, make a card. 
Use material you've never used before.  
Make a 3D item if you've never made one before.  
Use a tutorial you've been wanting to try.

 I went with the step cards that I've seen everywhere.  Take a 6x12 piece of paper, make score lines on the long side at 2" 4" 6" & 8".  Turn it & make slits 1.5" in and down.  I rushed it or I would have a picture to show, so much simpler than typing all this out.  I accordian folded the base, cut a cover & back at 4"x6" and used a package of pre-made chipboard embellishments a Circle pal gave me, Thanks Jen!

Sometimes its really great to be pushed to try something new and go play.  I can't wait to see what the other challenges are!

Thursday, July 21, 2011

Cricut experiments part 5 of 5

So this is the final installment of the 5 part cricut experiments.  I started this quest by simple frustration.  Many other people on the internet have challenged their cricut machines to push past their abilities.  It just made sense if it could cut, it could write.  Other plot cutters on the market can.  Cricut does not produce their own mini gel pen holders.  Yes, I like using my label maker, the fuzzy vertical note is a reminder to me that "lower number = less blade depth" for the usual blade housings.  This is what I tried, I learned it from the internet.  I split a rubbery pencil grip with a mini gel pen from Staples. Here it is loaded in the cricut.

As you can see, they work, but not great.  The pen in the housing wobbles and seems to slip upwards a bit so pressure is erratic.  If I hadn't split the grip to put the pen in it may have been more secure.  I just didn't feel like fighting a pen into such a patience test.  The numbers show they were "cut" at pressure 1 once; pressure 2 twice.  I put the original blade housing to show reference of how I guessed where to line up the grip on the pen to fit the housing.  I could do "multi-cut" to get stronger images but thats fussy.  Also I have to remember to write down the coordinates each time I start a new image to get the old one to align.  Like I said, fussy.
Here is my adapted cricut tool kit.  I read yesterday on the cricut message-board that people just pull out the foam & throw it away.  I got to thinking that it never fit the spatula tool well to begin with, so why not.  There are 2 layers of foam on each side so I just pulled out the top layer on the right hand side & snipped it down to keep these new tools organized.


If you are wanting to try these experiments and techniques yourself, you can contact Amy Chomas via her website www.chomascreations.com. I haven't been playing with her products long enough to really get a sense of how far they can be pushed.  So far I am very pleased with them and if you are interested I do recommend them.  I've only made one purchase, but I've found Amy is very nice to deal with.  I emailed her to let her know I was blogging about my experience with her product & she updated me right away about markers so I've gone back & updated post 2 with her recommendation.  If you are a learning junkie like me, these are fun to use and not difficult at all.

Tuesday, July 19, 2011

Cricut experiments part 4 of 5

 These were all done at maximum pressure (5).  Images are cat2, button 49,  booklet page 130 from Animal Kingdom cartridge, "heads" feature on.  I used low tack green painters tape to secure these experiments to the mat. There's no sense trying to get results if the test subjects are skidding around.  These experiments were with my new Engrave tool for cricut from Amy Chomas via her website www.chomascreations.com.

I had some nasty shiny thin cardboard from the dollar store.  It doesn't cut worth anything & narrowly avoided making it to the garbage.  It shreds for  the regular and deep cut blade.  I saved it thinking it may work with these new tools, luckily it looks like a success to me.  You can see the edge where the foil peeled up just cutting a scrap for this experiment.   x1 on the picture was my note to myself that it was "cut" once.  I think it could be coloured a la sharpie markers...

This is a scrap of thick cardboard. Click on the picture to show the differences.  x1 is "cut" once at 1", x2 is cut twice, at 2".  I was playing around with scraps & wasn't thinking I would need bigger pieces to experiment with.
This is thick clamshell packaging plastic, from a cricut cartridge.  I  resent all the packaging that I risk slitting my hand to open, so I save it to use on experiments, sticky stuff trays before throwing them away/recycling...  

1,2,3 indicate how many times I repeated the "cut."
x1 and  x2 were at 1", x3 was at 2" 
Part 5 coming fast!

Sunday, July 17, 2011

Cricut experiments part 3 of 5

All images were the "cat 2", button 49,  booklet page 130 from Animal Kingdom cartridge, "heads" feature on.  These samples were done with the "Emboss" tool from from Amy Chomas via her website www.chomascreations.com.  I asked for a 6x12 and a 12x12 rubberized mat so I could keep one for each mat size and Amy was kind enough to accommodate me for minimal cost.

For these experiments I started with lightest pressure & worked incrementally higher to see what the results were like.

These samples on vellum paper note 2, 3, 4, 5 showing pressure used.  I needed to use low tack green painters tape since the rubber mat provides "give" for the embossing, but also uses the mats stickiness.

You can click on the picture to enlarge if you prefer.
I tried parchment paper for baking just to see what would happen.  Of course that is nonstick & tape doesn't stick to it either.  For both experiments Pressure 1 did absolutely nothing.  #2 & #3 show pressure used for each sample.  I got bored so I didn't bother with repeating for pressures 4 or 5.  I don't think it would be worth using parchment paper in this capacity.  The creative bakers of the world might, but not me.  2 more posts to share, I hope this helps encourage others to experiment too!

Friday, July 15, 2011

Cricut experiments part 2 of 5

As promised, here are some results of the specialty cricut holders from Amy Chomas via her website www.chomascreations.com.  The mini gel pen proved a tight fit & needed to be strongly encouraged to get into the holder (shoved all the way in).  The micro sharpie & mini sharpie were easier cooperators.  I suspect that with time they will be easier to use as they get more broken in.  All images were "Cat 2", button 49,  booklet page 130 from Animal Kingdom cartridge, "heads" feature on.  These were done at pressure 1.


 These are held in place with some sort of rubberized lining.  They are all easy to remove with a chopstick pushed through the end hole
 This is the cricut brand marker by comparison.  The numbers indicate pressure used.  I didn't want to mash the tip of the marker permanently by trying pressure 3 for an even thicker line.
When using markers in a cricut, start with the lowest pressure. Use a scrap of paper under the blade housing before putting markers into the machine or you will have marker blotches on the machine.  Trust me on that one!  A bit of rubbing alcohol on a cotton ball or a Mrclean magic eraser will take most of it off.  Been there, done that!  Some internet people are making their own childrens colouring books with these markers.  Others use markers to draw the image first, swap out the marker for the blade & cut them out WITHOUT unloading the mat, to make darkened or coloured edges on their cutouts.

edited to add:  Amy Chomas emailed me back with an update when I told her I'd be blogging about her products.  She recommends to NOT leave the pens in the holders in the machine when not in use.  Somehow some pens drip and make a mess of the machine.  That would be an unpleasant surprise.  I'm sure that markers would just dry out if left in there and that would be a waste.

There's 3 more coming, stay tuned!

Wednesday, July 13, 2011

Cricut experiments part 1 of 5

Awhile ago I ordered some new tools for my cricut machines from Amy Chomas via her website www.chomascreations.com.  I had read about them on the cricut messageboards and also read about the competitor product by CriKut.  I decided on Amy's product because they seemed simple to use and her business had real customer reviews that were positive.  She also has excellent videos showing how to use her products.  I emailed Amy & asked for a return phone call once we had determined what I was wanting.  I asked for an extra 6x12 embossing mat so I could use both machines without ruining the 12x12 mat to cut it to use on my little 6x12 cricut.  Did I mention she had a sale at the time?  Well, our Canadian dollar is strong, a new to me product to make my tools even more versatile, AND a sale, that was too good to pass up!

Unfortunately after I had ordered Canada Post went on strike and arrival was delayed, but I got them.  I ordered some different pen holders, an embossing and an engraving tool.  These tools go where the blade housing is held in cricut machines to enable different tricks & techniques.  I must make you aware that the warrantee is expired on my little cricut so I have no fear of it voiding my 1 year provocraft warrantee.  I won't use them in my expression cricut machine until that warrantee is expired, just to stay out of trouble.

So of course I have been experimenting with these new tools & I was asked on the cricut messageboard to share my experiences.  I will spread these posts out over a few days.
These are what the Provocraft blade housings look like.  It seems all new machines come with plastic blade housings now so if you ever get your hands on an original metal blade housing HANG ON TO IT!  A regular blade has a 30 degree angle, a deep cut blade has a 60 degree angle.  The regular blades can cut most things.  You need to do multi-cuts if its a thick or tough product you are trying to cut through. The Deep cut  has a blade that is a steeper angle (more pointy) so it is better able to cut through chip board, cardboard, magnets, and plastic. I haven't cut fabric yet, but I would keep a sticky mat and dedicated regular blade just for that.
The first thing I did after opening the box of new arrivals was to dig out my label maker.  Time goes by and its easy to forget which does what.
Here they are all stood on their ends to show the differences in tips.  As always, click on the picture to enlarge.
It is not recommended to leave any of these custom housings in the blade holder of a cricut machine.  They are a tiny bit heavier than regular blade housings.  A good Sharpie marker trick, make sure you cap them tightly, they sometimes don't click properly.  I will eventually try Crayola pipsqueek markers or other mini markers when I get my hands on some.

There's 4 more posts to come!

Sunday, July 10, 2011

Belated Cards

These are some belated birthday cards I made with my little cricut machine.  I used "Carousel Lite" cricut cartridge, Silver Contact paper, and sharpie markers to colour them.  The carousel on the left is cut at 4.5", oops, too big, I'll save it for something else.  The one on the right is cut at 4".  I used a piece of scrap paper to block the marker to make nice straight lines at the bottom.
 These are 3 bumper cars one is slightly bigger than 2", On my Gypsy I altered the other two.  The one on the right is slightly smaller and narrower width, and the one in the lower left corner is angled a little forward to slant it.  I also "hid" the extra details of each cut because I did not want the number 7 on each of them.  The "Happy Birthday" were extra cuts I did when I made cards with pretty holographic scrap paper.  I figure its easy enough to cut extra pieces of useful phrases & test cuts while I've got everything sitting out & in progress.  It saves rushing last minute style sometimes.
 I had to tip the cards to show the pretty shine the silver contact paper gives, the cards are normal 4x6 proportions, just pre-made Recollections brand blank cards & envelopes.
 The border trims are scrap Basic Grey brand paper.
I added the black seat detail, edged the bumper cars with black sharpie and  hand wrote the numbers, no particular meaning. I think they turned out pretty well.

Sunday, July 3, 2011

Some cards

Here are some pictures of cards I made awhile ago.  These are shaped edge cards made on the Gypsy.  
The red kitty is from "Create a Critter" cricut cartridge.  
 These are from "Smiley Cards" digital cricut cartridge.  I used coloured googly eyes from my stash.
I love how it looks like the baby is crying cuz Boomer might get 'im!