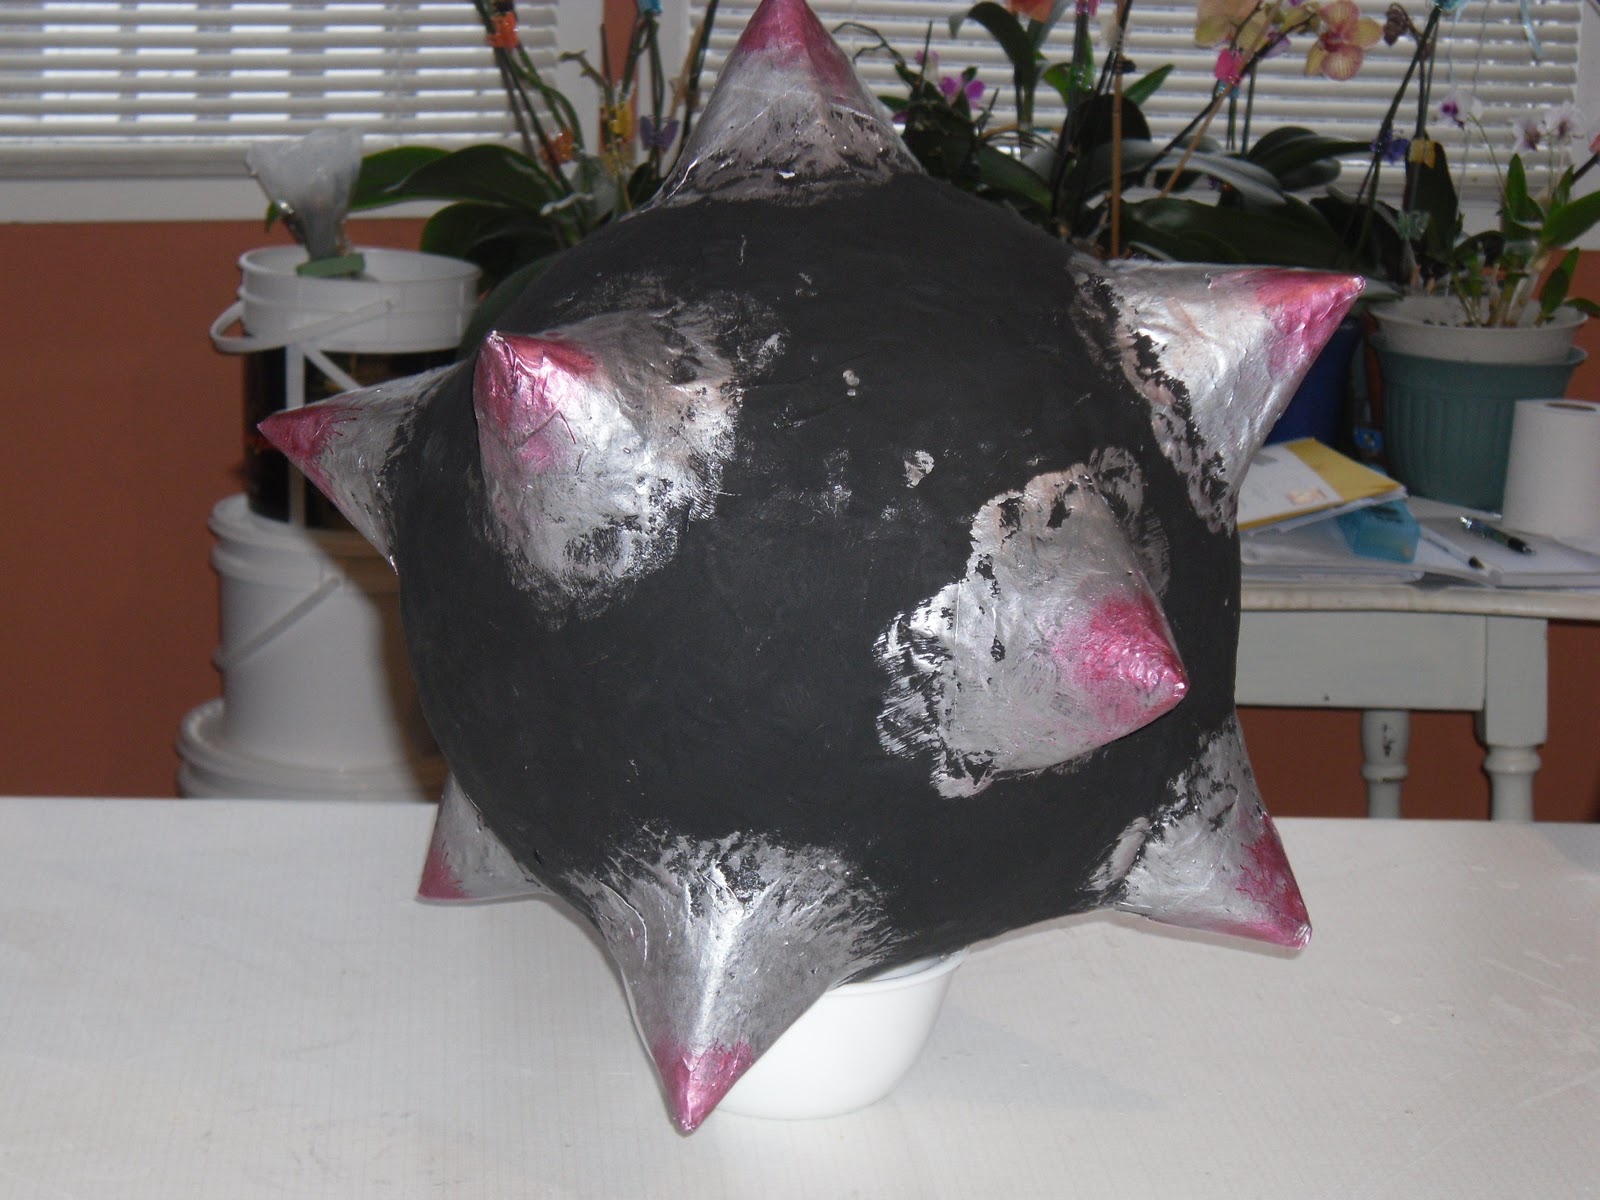
What is this? Some good guesses were: something ceramic? something bone? a bat? a stick?
All will be revealed at the end of the post...
Ahhh, free-bee 18" beach ball, your fate is set to be repurposed. Yes, those are my orchids in the background. I like that they need watering once a week, occasional fertilizer, yet they bloom in a showy way for almost 3 months. My kinda plants! Lets never mind the miscellaneous piles sharing the same table shall we.
Lowly paper mache, so simple, so inexpensive, so messy, so perfect & most importantly, so easy! An internet search refreshed my memory on the details & paste recipe, one part flour, two parts water ratio. I did add some cinnamon to cut the funky smell of wet newspaper. As the slurry gets thicker its ok to cheat & add a bit of water to keep it going. The ball is propped up on a bowl to keep my sanity. Bigger strips of newspaper get faster coverage but don't cover curves well. Squeegee-ing each strip between fingers before applying cuts down the sloppy drippyness & speeds up drying time since the whole thing is less soggy.

I'm an impatient kinda gal. I thought about setting this thing outside to freeze dry & it occurred to me it might not stay round. A heat gun seemed to be a ridiculously slow option, I tried & I got bored. An industrial heat gun was not attempted, I didn't want to risk a fire. But the lowly hot air popper was just sitting there, begging for work. No need to turn the house into a sauna turning up the furnace, thanks hot air popcorn popper! I propped it on a wooden spoon to improve the blowing angle. If you try this, stay nearby. I got 3 layers done in about 2.5 hours. I was able to run 2 loads of laundry & make myself some lunch too.
I used some advertising papers that were a bit stiffer & traced a plate for the template for the spikes. Once all the circles were traced & cut out, they were folded in half & cut, taped into cones & then taped to the ball.
3 more layers of papermache were done for a grand total of 8 layers. I did set it near the heat vent for drying, poor lil popcorn maker needed a rest!
After an overnight dry-out, I happily cut into this thingie to pull out the ball. Puncturing it was satisfying somehow!
Here's the candy haul, 2kg bucket & a bag of graveyard parts I scored after Halloween. Hooray for sales!
Before filling it up, I made a cardboard washer for reinforcement inside, lowly zap straps to the rescue to hang it up. In hindsight I should've added 2 more"washers," incrementally larger. Once full it is heavier than it appears.
I layered in some newspaper before adding non-toxic all-purpose white craft glue to close it up. No need to glue the contents to the inside I figure. I used the same glue to add some more newspaper over top to make it all smooth again. I figured glue would be a better bond at this point.
Here is the zap strap closure. Humble zap straps, tough & strong. Good thing too since this thing weighed almost 8lbs when it was fully loaded.
Painted with acrylic paint, black base & silver points. Kiddo did a good job painting eh! He used a kids blow painting "Sprayza" set to put the red on the points, his own great twist on this creation.
Each kiddo got 5 whacks at it until it dropped & was beaten into submission. People are doing amazing things with paper mache, who knew its not just for kids crafts anymore!
In answer to the question at the beginning of this post...
A mannequin arm!
Its great as it is, but to be a dismembered arm it needed cosmetics.
Acrylic paint to the rescue! Four different colours of red & a couple different browns really improved the effect. This was the fastest of the project details to achieve, just dig in & smear paint on.
another view, same arm
Pictures taken with my cell phone, not bad for 2 megapixels! I used gorilla glue to put the hand on at the wrist, but it didn't hold. It made a great club to beat the pinyata just the same. The Zombies were thrilled!
One more Zombie post coming, have a great week! Oh & while I've got you, don't forget to mark your calendar, April 7 is National No Housework Day!