Saturday, November 30, 2013

Frosted WOTG

This is the "Frosted workshop on the go, card kit" from Close to my Heart.  All that is needed is a paper cutter, and 4 inks (cocoa, olive, ruby, and twilight).  I made 15 cards from this kit with enough scrap papers to make more cards if I get to it.    I followed the cutting diagrams & assembled them in about 2.5 hours.  It would've been faster if my paper cutter wasn't worn out.  Time for a new one! 

Notice the 2 "Holly Jolly Christmas" cards,  particularly the stamping in the upper right corner.  After assembling the 2 vertical strips of paper, how do I align the stamping so it shows up?  With the clear acrylic stamp & block, it is pretty easy.  I placed the phrase panel where I wanted it, inked the snowflake stamp on an acrylic block, hovered it over the phrase until it was approximate, slipped out the phrase, stamped, set aside the stamp/block and then adhered the sentiment.  I felt pretty pleased with myself for figuring out that trick.  I don't mind that there are variations in my cards from the kit directions, that's part of the charm of handmade projects.
Season's greetings!

Wednesday, November 27, 2013

Sparkle Xmas Card

This was a new technique I learned at the November 2013 scrapbooking crop sponsored by Kimi Orton, owner of ScrapTherapy.  She gave very good written & verbal directions on how to use glitter, I will paraphrase them here.
1.  Sprinkle glitter on Sookwang adhesive paper in the usual way, save the remainder & dump it back in the container.
2.  Spend some time with a "peeloff" of choice.  What is a peeloff?  It is a lazer cutout vinyl sticker, sortof like a stained glass window if that makes sense? Peeloffs come in all sorts of variety so have a look at your local scrapbook store to see what you can find.  Weed the vinyl: Use a pokey tool to remove the filler pieces, or save them in a 2 step process with transfer tape if the image allows dual use.  I didn't save the packaging to tell you what this Christmas village house was from, sorry.
Tip:  I used the tip of my microtip nonstick scissors to poke the little bits out.
3.  Trim a piece of transfer tape, apply it to the vinyl, burnish well.
4.  Peel up transfer tape & apply vinyl to glitter paper.  Remove the transfer paper.  Question: is it okay to use preglittered paper?  Answer: YES.
5.  Get busy colouring with alcohol based markers (copic, CTMH, Sharpie, Bick...)
I used Sharpie markers because that is what I have.  I couldn't find my alcohol blending pen, so I bought a Copic 000 no  colour blending pen.  Blending the variegated stripes of colour softened them nicely.  I was even able to fix an oopsie colouring on the overhanging snow in the roof.  You can see I was testing Sharpie markers on a scrap; I used a range of blue, grey, silver for the "snow."  I'm not entirely happy that it looks like the house is floating on the background.  Considering I was first time playing with technique I don't think it was a big deal, it's still pretty.  The card is a CTMH shaped card, from my consultant kit, they come all tucked in their envelopes.   It was a pleasant surprise to have a lovely edge on the card.  I traced the shape on the back of the sparkle paper and manually trimmed it out.  That's it.  I will have to percolate on it a bit to decide what will fix the floating look, maybe some doodling?  Its now winter, so time to enjoy avoiding the cold!

Wednesday, November 20, 2013

Fall Banner Challenge

Banners are trendy in paper crafts these days.  I've never made oneand I wanted to try for a challenge in the 3rd Canadian cricut circle online swarm, closed Nov 15.  This was for challenge #2: Create a Fall or Autumn banner.
 Materials:
CTMH cricut Art Philosophy cartridge, button 28 cut at 1.5"
White daisy cardstock
D1558 Washi Wonder CTMH stamp set
CTMH inks: Cranberry, Juniper, Honey, Sunset, chocolate
E1027 Framework alphabet stamp
water based blending pen
Harvest bakers twine

Method:
1.  Cut the banner, stamp it with washi wonders patterns.
2.  Stamp letters in chocolate ink.
3.  Squish each ink pads as needed, the lids become colour palate for the blending pen.  Use the same colour pattern stamped to colour in the letters.  I originally left it like the top picture, but it looks unfinished.  I went back & used the blending pen to outline each pennant and it looks a lot better to my eye. 
4.  Tip:  Put a dot of liquid glass adhesive on the tip of the bakers twine, give the string a hard twist, let dry.  It is much easier to thread through the banner, think of the plastic coating on the tip of shoelaces and it makes sense.  Just a dot of this glue this way dries really quick, YAY!

I hope to use this on a scrapbook layout later.  Thanks for looking!

Thursday, November 14, 2013

Use it Challenge

Here is my entry for challenge #6, "Use it" hosted on the Canadian Cricut Circle messageboard.  I used paper & google eyes from my stash. "Robot Party" cricut cartridge, and Viva decor Pearl pens were brand new, unused until now.  I used button 7 for the bag, & 17 for the face, cut at 12" they sized together.  I enjoyed how quick & easy it was to create.  A certain little boy has a first birthday rapidly approaching.  He loves paper (well, tearing and eating it mostly) and I know the google eyes will be entertaining too!  Maybe I will win a prize?  Thanks Sara over at sarawandrews.com for posting such a nice challenge and supporting the online swarm!

Wednesday, November 13, 2013

Advent Cubby Calendar

I have been planning to make this thing forever.  When I went to a November weekend crop with good friends I finally got it done.
Supplies used:
Magical Days #d1552 stamp set,
Sparkle & shine paper packet,
MyCreations Cubby
CTMH cricut Artiste cartridge, button 50 cubby box
Juniper, Ruby, and Slate ink pads as recommended on the zip strip edges of the paper pack.
Sookwang 7mm adhesive tape.
3D foam tape
sparkle bling assortment
2" scallop punch, while supplies last,
1 1/4" circle punch
CTMH Versamat
stamp scrubber  & Spritz cleaner
borrowed 1" and 1 1/4" square punches.

The paper pack and stamp set are  limited seasonal items in the Holidays from the Heart seasonal Idea book.  There is a slight shine in the silver paper print that just doesn't show up until you see it in person.  I used my gypsy and the cubby box image from the CTMH cricut Artiste cartridge, button 50, sized at 2.5" to cut 2 per 12"x12"page.  Then it was time to get on with it, assembly line style.

I was able to crank the papers through the cricut in about 15 minutes to get the cubbies cut.  I saved the waste papers to punch at the crop.  15 minutes punching the patterned papers with the scallop punch.  About 30-45 minutes at the crop scoring the cubby boxes so they would fold nicely.  I tried one without scoring and the folds were not as crisp looking.  Plus scoring made the folding go easier.  Trim & snip the sookwang tape into strips, and  stuck them to the edge of my CTMH Versamat speeded up the job.  When you have to redundantly handle each supply multiple times, in multiple sequences, it adds time, which adds fatigue.  The cubby boxes were assembled in about 30-45 minutes.  Then came the fun part, stamping.  The foam side of the Versamat also helped since I could lay out the solid colour paper scraps, inks, the stamp set, a scrap of paper to stamp off, and the scrubber and just go for it.  I stamped most of each number in different colours on different papers to give more visual options to match to the cubbies.  A few images I liked right away so they didn't get multiple stamped effort.  Punching them out after stamping kept little bits from jumping around.  I was pleasantly surprised to see the ones that were punched then stamped stayed put on the Versamat.  I spent a few minutes aligning them 1-25 on the mat.  It also took some time arranging the cubbies so that there wouldn't be blocks of any one colour overwhelming the whole surface.  I wanted to have a variegated appearance, yet it remained unified because everything coordinated.  I started at the crop at 9am, settled to work by 930am, and was done by lunch at 1230pm.  It really helped to have good friends help with fresh eyes before sticking everything down permanently.  I edged the cubby in a champagne sparkle ink to give it pretty detail.  # 25 got sparkle bling to fancy it up.

Having a plan & kits really made the most of my crop time, but I still over-packed! I'm getting better at pre-planning which really makes the most of it.  Happy scrapping!


Saturday, November 9, 2013

Distress?

This isn't an overly exciting post.  There are loads of examples of detail oriented "distressing" of details to make projects more visually interesting.  I'm all in favor of colours, not just edging everything in brown or black.  This is how I use the sponge from CTMH.  Sponges can be rinsed out and reused, no big deal.  I have started a system of tabbing my sponges, and just putting a star on the inks that have a mate sponge.   White Daisy paper cut to 1" x 2" fits the top of these sponges perfectly.  I note the ink colour, swipe it on the paper & staple it on.  This is not a new idea, Stampin up demonstrators use a tab punch to make prettier handles, same purpose. 
CTMH recommends sponges be cut into quarters, shown on the right.  I don't care for how thick it is in my hand so I cut in 6ths.  Uncut sponges stay in the package with papers waiting to be assigned.  The whole works store in a zipper baggie, until I get fed up with that system and try something else.
Thanks for stopping by, at least its not housework!

Tuesday, November 5, 2013

Halloween Mini Book


Halloween Mini book cover
I have had this 'lil book done for awhile now but life keeps popping up keeping me from blogging it.  Excuses aside, are you ready?  This is a big blog entry, lots of pictures of my 22 page book made with the CTMH Artbooking Cartridge for the Cricut machine!  I will list the supplies as I go and at the end.  I set the dial at 6", used buttons 17 & 18 (pages 54, 55 in the handbook).   I found the 6" pages would tell my cricut expression I could only cut one.  I could see there was plenty of room on the page so I would unload the mat, remove the page cut, turn the mat around to reload & cut another page.  I always have the paper saver button on.  All cricut images are designed with an imaginary border to size on the machine so when it calculates cuts it can tell you if you have enough room.  Like using a GPS, sometimes you have to apply common sense to out-think the electronics, LOL!

This book is made with retired My reflections "spellbound" paper pack from CTMH from my stash.  The coloured part of the face is clear plastic portfolio scraps from back to school supply sales, that stuff cuts "like buttahhhh" in the cricut.  I hope to show you in another post what I've been doing with it.  Like I said, I've been busy busy busy, so I need to squeek in some crafting play time too.
 Page 2 & 3.  This is my sweet boy at 8 months age,  a teenager now.  The Happy Halloween words are backed with Black Shimmer Trim, the cat eyes are Epoxy bubbles, I really like the iridescent stare they give.

 Page 4 & 5. My pumpkin is 2 years here.  Page 5 is more of the clear plastic portfolio scraps sandwiched between 2 pages cut the same, glued with Liquid glass.  Interesting that one side is shiny & one side is matte for that plastic.
 Page 6 &7.  Page 7 is Distressed Backgrounds, sunset ink, black ink, slate ink.  The spider is an accent from the Artbooking cartridge.  It is easiest to cut a bunch of accents all at the same time while the paper is loaded on the mat.  I figure I've gone to the trouble of picking & loading papers, the scrap may as well get to work for me giving options to play with when assembling.  Of course it gives me loads of offcuts, but they go in a baggie to be used on other projects, or give away to school or a friend.  I also keep bigger scrap papers until projects are done.  That is the best way to test inks etc as I create.  No sense testing on the project itself if I don't need to.
 Page 8 & 9.  The cat in the hat is 3 years old. The embellishment is a tag from a toy.  The witch is me, I made that mandarin style dress for an event that fell through, but it made a fabulous costume!  Trick or treat I cut from 2 different papers to offset layers for a shadow effect.  The bonding memories glue pen makes easy work of adding little things like that.
 Page 10 & 11.  "Fright" is popped up on foam tape.  My Vampire is 5 years old here~ scary!
 Page 12 & 13.  There's a 4 year old running around on Page 12, and  the owl is popped up on foam tape.  Page 13 is 2 cuts the same with pale green vellum sandwiched in between, glued with Liquid glass
 Page 14 & 15.   My Ninja is 8 years old I think?  I used sparkles flourish, and the "zip strips" that are on the edge of CTMH pattern paper. 
 Page 16 & 17.  I had this idea stuck in my head for a long time. I've seen it done on fancy store bought cards.  I cut 2 spirals from the lolly pop swirl in the Artbooking cartridge and used the centre swirl.  Glueing them together by leaving one on the cricut mat and applying the second made it easy to do.  1 layer wouldn't be sturdy enough I think?  These are more accent cuts, 2 layers glued together right on the spiral.
 Page 18 & 19.  Page 18 is another zip strip border.  My pumpkin is about 11 years old here.  The spiderweb is decorated with Bakers twine- autumn terracotta, the spider got a slick of liquid glass to make her shiney.  The centre accent is from retired CTMH product that coordinated with the paper pack.  I wish I had used grey fun foam instead of white pop dots from my stash.  Tilting the page to the side it doesn't look very nice.  Oh well, I'm not changing it now.
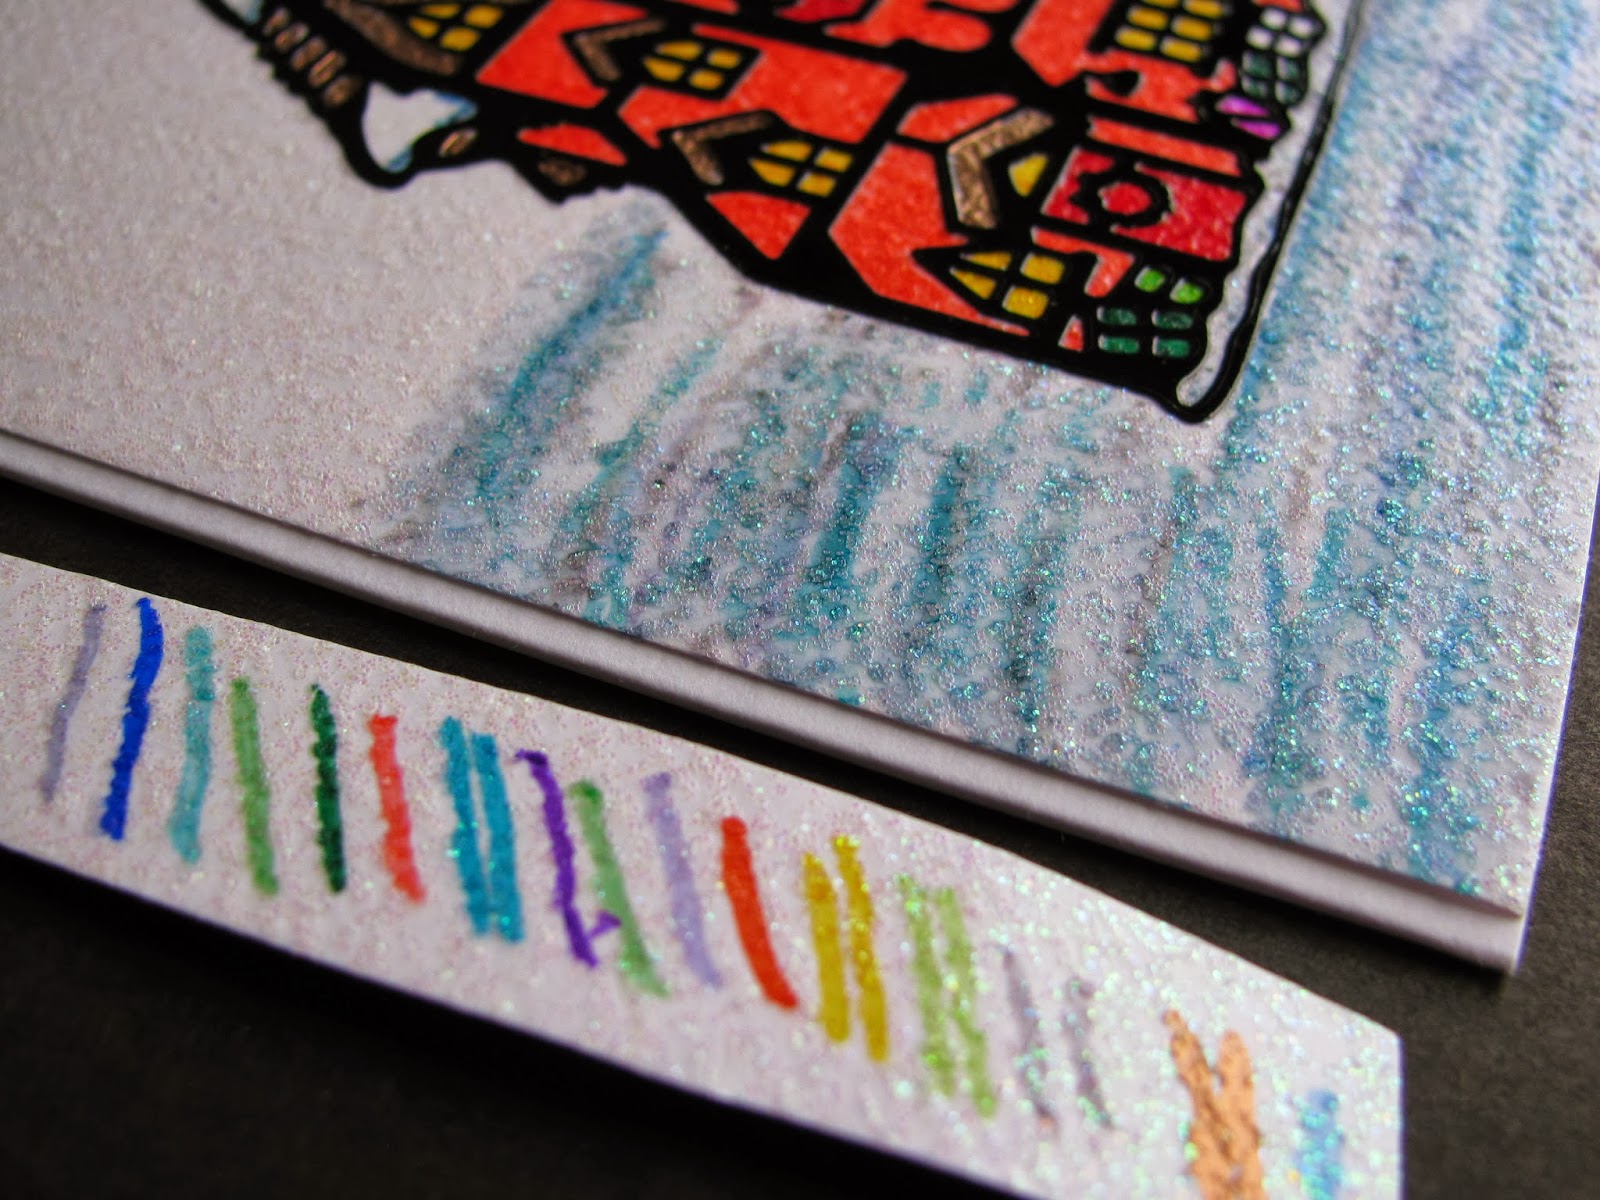
 Page 20 & 21.  I glimmer misted the spider web on the grey page so it made a nice page waiting for a picture I can't find right now.  The grey paper had an oops cut out of it but I didn't want to cut another.  I stamped houndstooth in white daisy ink on the black layer of the pumpkin face & stuck it down with a brad.  Creepy creatures,  stamp set, stamped in black, white daisy, autumn terracotta.  The orange is matted on the houndstooth paper.  I used my corner rounder with the guard off to create the scallop edge.
Page 22.  I used 2" Office BinderZ, an old retired product from my stash, but they are like this 2-Piece-Fasteners.
I used retired My reflections "spellbound" paper pack, Liquid glass, bonding memories glue pen, MyAcrylix Spritz stamp cleaner, stamp scrubber, Distressed Backgrounds, creepy creatures, Bakers Twine, My Acrylix blocks, Inks:  sunset ink or Autumn terracotta ink, slate ink, black ink, white daisy ink. sparkles flourish, Black sharpie marker to edge, corner rounder, 2" scallop punch, mini medley accents, Black Shimmer Trim,

Overall I really enjoyed puttering along creating this book.  I have been working in batches these days.  One day I did all the cutting, another day finessing accents and picking pictures.  Then the fun part was choosing page order and playing in the details.  The nicest part about using the Artbooking cartridge was setting the dial to one size and not having to play around with sizes, it all coordinated.  EASY, simple, and I get all the credit, what's not to love?

Thanks for being patient with me, baby boy is 11 months old now, busier than ever of course!  I hope everyone had a Happy Halloween!