Showing posts with label Layout. Show all posts

Saturday, February 22, 2014

Scrapbook page re-do

I've been looking at this scrapbook page layout for some time now, and decided to re-do it.  I detest re-do's, my free time is precious and limited.  I did learn a few things:  a redo is still creative time; a redo is a chance to step out of habits; a re-do is okay because it says no one is perfect; I really like this re-do so it wasn't a waste of time.

I did this layout of my boys as a rush job at a November crop.  I don't know the paper brands or anything, they were part of the crop goodie bag.  It's okay, it shows the humor of the pictures, but the balance & details are wrong.

This is the re-do using CTMH products.
The redo was inspired by Make it from your heart Volume 2, page 9 pattern 2 adaption.  The base paper is "white Daisy" with a 3/8" border of "sky" blue paper.  The large "Sorbet" colour gear is cut from Cricut CTMH Artiste cartridge 10", and sponged with twilight ink.  The border gears are cut at 1.5" from "twilight"colour paper.  The centre band of paper is "Twilight" colour, textured with the Quatrefoil embossing folder.  The stamp in the upper right corner is B1433 Hostess Rewards "Family photo" set.  The stamp in the lower left corner is C 1566 "Tech speak", inks used are sorbet and twilight.  I used the Masking technique, a blending pen #3174 to highlight, and the "Rock and Roll" technique.  Between the pictures is faux matting of Lagoon Houndstooth Washi tape #Z1850 on strips of the "sky" coloured paper.  Sorry to be so link heavy, I don't know a simpler way to list all the stuff simply without getting too wordy.

I hope you are having fun playing with your supplies too.  Thanks for stopping by to take a look.

Saturday, December 28, 2013

Endless Summer

This is a quick scrapbook layout of me, made with the CTMH Artbooking cricut cartridge.  It is on page 67 of the handbook, button 30; except the palm tree, I swapped that for the evergreen tree on  the other button (page 66).  British Columbia isn't known to have live outdoor palm trees.  The base paper is Kraft cardstock, the other papers are Recollections brand from my stash.  I inked up the edges with mini pigment ink, but I don't know which colours now.  I just played around on scraps until I liked the colour.  I did use White daisy pigment ink and a deep blue dye ink to stamp in the honeycomb corners.  I learned from another blogger Obsessedwithscrappin "fun hexagon background" on youtube that the honeycomb overlay perfectly fits the Honeycomb #c1537 stamp set.  I need to find my yellow chalk to tint the white on the upper right corner.  I think it will lend visual interest to the layout, even though its opposite the lighting on the picture, LOL!  This is my modest attempt at waiting out winter.  Stay warm & keep on craftin!

Saturday, December 21, 2013

Give Thanks

 This is a 2 page layout made using the CTMH Artbooking cricut cartridge, using button 35, page 72 in the handbook, size 11".  The overlay is cut from Kraft paper, the coloured papers are Recollections brand from my stash.  This edge distress-er makes easy work of roughing up the paper, it takes up the ink & softens the hard border that is edged with twilight ink.  A good tip is to not use that edge distress-er over a project, else there will be shreds of paper dust EvErYwHeRe.  Scissors work well for roughing up edges, but the micro-tip scissors are so very sharp, bloodletting would wreck the project.  Not to mention valuable crafting time spent on cleaning it up and healing.  I stamped the cutout pieces with Geometric backgrounds D1853 stamp set; the tree trunk I used White daisy pigment ink, the leaves I used mini pigment set ink, sorry but I didn't note which ones.  A tip about stamping on bitty pieces of paper:  put a scrap of copy paper over the stamp set foam cushion insert so the excess stamping isn't on the insert.  It was easy to ink in bands of colours on the distress stamp and then clean it all in one round.  I found that the pigment ink shows up on the Kraft paper, the dye ink was more muted looking.  Some of the leaves are trimmed slightly, and they are all popped up on 3D foam tape.
The Kraft paper is more fibrous, it cuts best with a slightly lower blade pressure than usual and multicut ON.  The leaves are edged with a bit of twilight ink.  I squish the lid on the ink & then pick up the ink on a sponge that I've cut into 6th's.  Other bloggers like them cut into quarters, but I like the slimmer profile to use.  I will show you in another post how that works.
I like how I could use the layouts together or separate, and even swap left to right.  This Artbooking cartridge is my favorite because I don't have to play around with the dial size and everything coordinates nicely, even when elements are swapped around.  I haven't got the pictures printed yet, so anywhere it looks like the overlay would hang over a picture is not glued down.  I should say "adhesive" but I am getting sick of the overuse of that word on blogs, youtube, etc., but that's just me.

A cricut tip:  When looking at the handbook, notice that each example is in a code of colours.  This is to remind you to pick 2, 3, or 4 colours for your project.  If you only use 2 colours on a 4 colour example, the layers blend together visually and vanish unless you take steps to alter the cuts with ink or doodles or something.

Whatever you are making, I wish you crafty success!

Monday, October 1, 2012

Zombie Halloween

I wanted to title this, "My little Zombie" because of the cute factor and vague reference to "My little Pony" but decided against it.  These were Halloween 2011 pictures.


I cut out the word Zombie from Happy Hauntings cartridge using gypsy & cricut, about 3.5"  high.  The papers are from my stash.  I used orange & brown chalk on the yellow layer to dingy it, it was too bright.  In the above picture the "ie" are bright yellow still, just showing the contrast.  The grey stars lower border paper is covering up a yellow/red diamond pattern border that was far too bright and circus looking.  I chewed up the ripped edges of the red photo frames, inked them with brown and deep red.  The October 31 bling is "Me & my big ideas" brand bling stickers I found on clearance.

Posted by PicasaHappy Halloween!

Saturday, November 19, 2011

cookie recipe swaps


I joined an online cookie recipe swap in progress on the cricut circle messageboard.  Here are my contributions.  The criteria was to use at least one cricut cut, the recipe, and a picture of the recipe.  I will post the recipes at the end.  Cricut & gypsy were used for both projects.  White paper is photocopy paper,which is light weight and acid free.  The  coloured papers are from a DCWV paper pack, "Tis the Season" I found on sale recently.  Click on any picture to enlarge.

The first one is 6"x6", I used "Church Windows" as my recipe.  I chose a window frame from Ornamental Iron cartridge, unlinked the dimensions to change them to 5.44"x5.22" They were "kiss cut" from wood grain Con-Tact paper.  Using the cricut tool kit "pick" I was able to weed out the waste from 2 frames in the time it took cricut to cut 4.  The large middle piece on the lower left of the picture is the centre of the frame and makes an excellent place to deposit all the little sticky bits.  Originally I was going to lay these on transparencies and colour in the windows with markers.  I realized being 6"x6" that would leave no room for the picture.  It occurred to me, the pictures would serve nicely in the window as colouring so I got busy with an exacto knife and scissors to cut the pictures to fill the frames.


Blogger and picassa aren't agreeing with me as to where I can insert text, sorry but I have no idea how to fix that.  This is the second recipe page, "Waffle Cookies," it is 8"x8".  I used Picturesque cartridge and unlinked the dimensions on the photo corner to become 2"x2" kiss cut them from silver Con-Tact paper and added 3 to each page.  That left a big gap in the upper right corner so I used Inkadinkado brand circle & dots clear acrylic stamp & pigment ink to make a pretty accent detail there.  That stamp set was a gift from a previous swap, I was so happy to finally use it!  I had trouble with the white ink not showing up on the pink, orange, and pale green "hohoho" paper so I switched to a dark brown as you can see in the below picture and it made all the difference visually.


Posted by Picasa
As promised, here are the recipes.  The waffle cookies look like "space invaders" from that old atari video game so they would be great for a theme party too.  I have no reference for where the waffle cookeis recipe came from.  The Church windows recipe I adapted from the Steven & Chris TV show, but I found it was too sweet, so I use unsweetened coconut and it tastes just as addictive.


Waffle Cookies  (makes 12)
1/2 cup melted butter
2/3 cup sugar
2 eggs
1 tsp vanilla
1 cup flour
1/4 cup cocoa
1/2 tsp salt

1. Mix together wet ingredients followed by dry ingredients. The batter will be thick.
2. Drop by tablespoon onto hot waffle grill.
3. Check cookies after one minute. Cook about 2-3 minutes.  When set remove from iron with a fork & cool on baking rack.
4. Frost with favorite icing; or using a small spoon drizzle with melted chocolate.

Melted Chocolate:  use 4 parts chocolate, 1 part vegetable oil, microwave in one minute increments, stir each minute to prevent burning.    Or use double boiler method.

Note: batter can be thinned with 1/2 cup milk or water if you desire thinner, more lacey looking cookies.  Measure about 1/4 cup batter per cookie.  You may need to adjust cooking time if you desire crunchy or soft cookies.
Makes 16-18 cookies.


Church Windows (makes 2 logs)
3/4 cup butterscotch chips
3/4 cup chocolate chips
1/2 cup butter
1/2 cup peanut butter

2 cups coloured mini marshmallows
1 cup unsweetened flaked coconut

In a medium sized bowl, melt together the first 4 ingredients in one minute increments in the microwave.  When completely blended, mix in flaked coconut and let cool to lukewarm.  Mix in marshmallows. 

Unroll 2 large pieces of parchment paper or wax paper, about 24” long.  Divide batter in half, dump half on paper, spread it out into a log. Match long paper edges together and roll down on itself to the log to roll it up to about 2” diameter, twist ends closed.  Repeat with remaining batter.  Put logs into the fridge, when completely chilled, slice as needed.

Wednesday, November 16, 2011

Halloween 2 page Layout


Ta daaaaaaaa, 
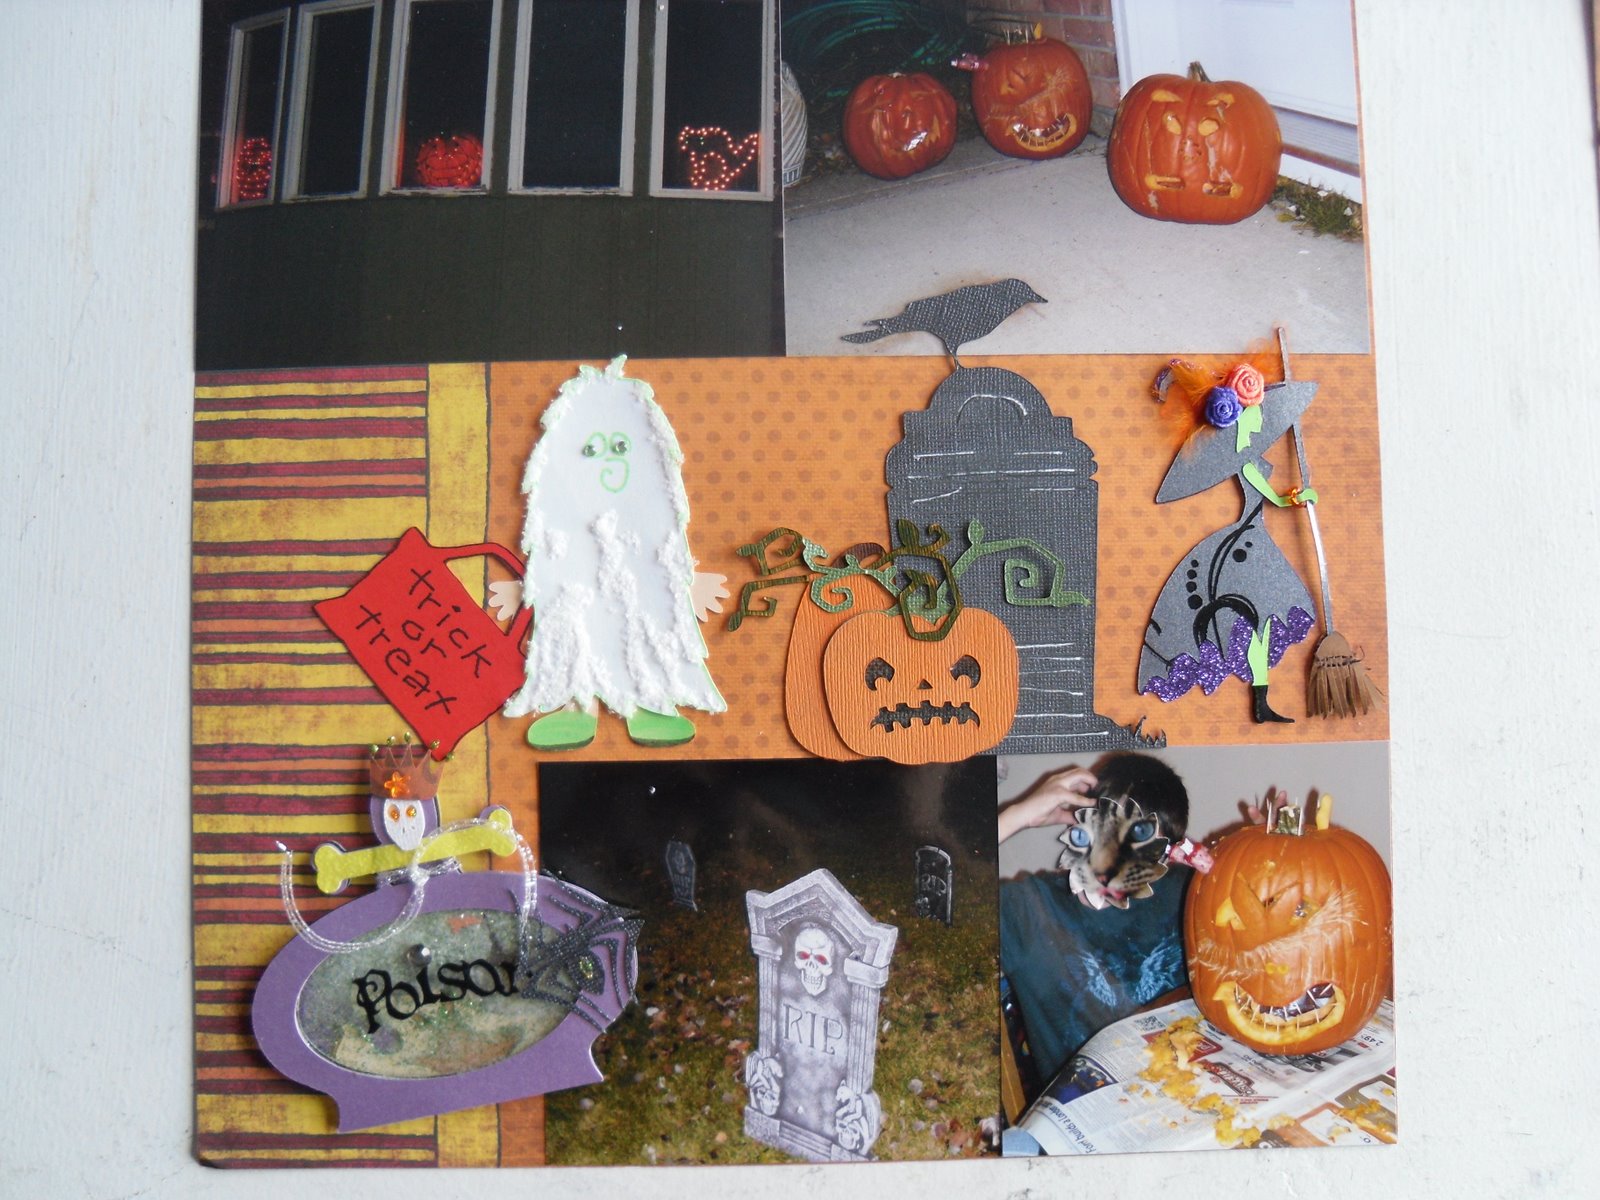
This was the easiest, most fancy 2 page scrapbook layout ever.   Many thanks to my friends on the cricut circle messageboard for the cuts from the swap I showed last post.  As always, click on the picture to enlarge if you like.


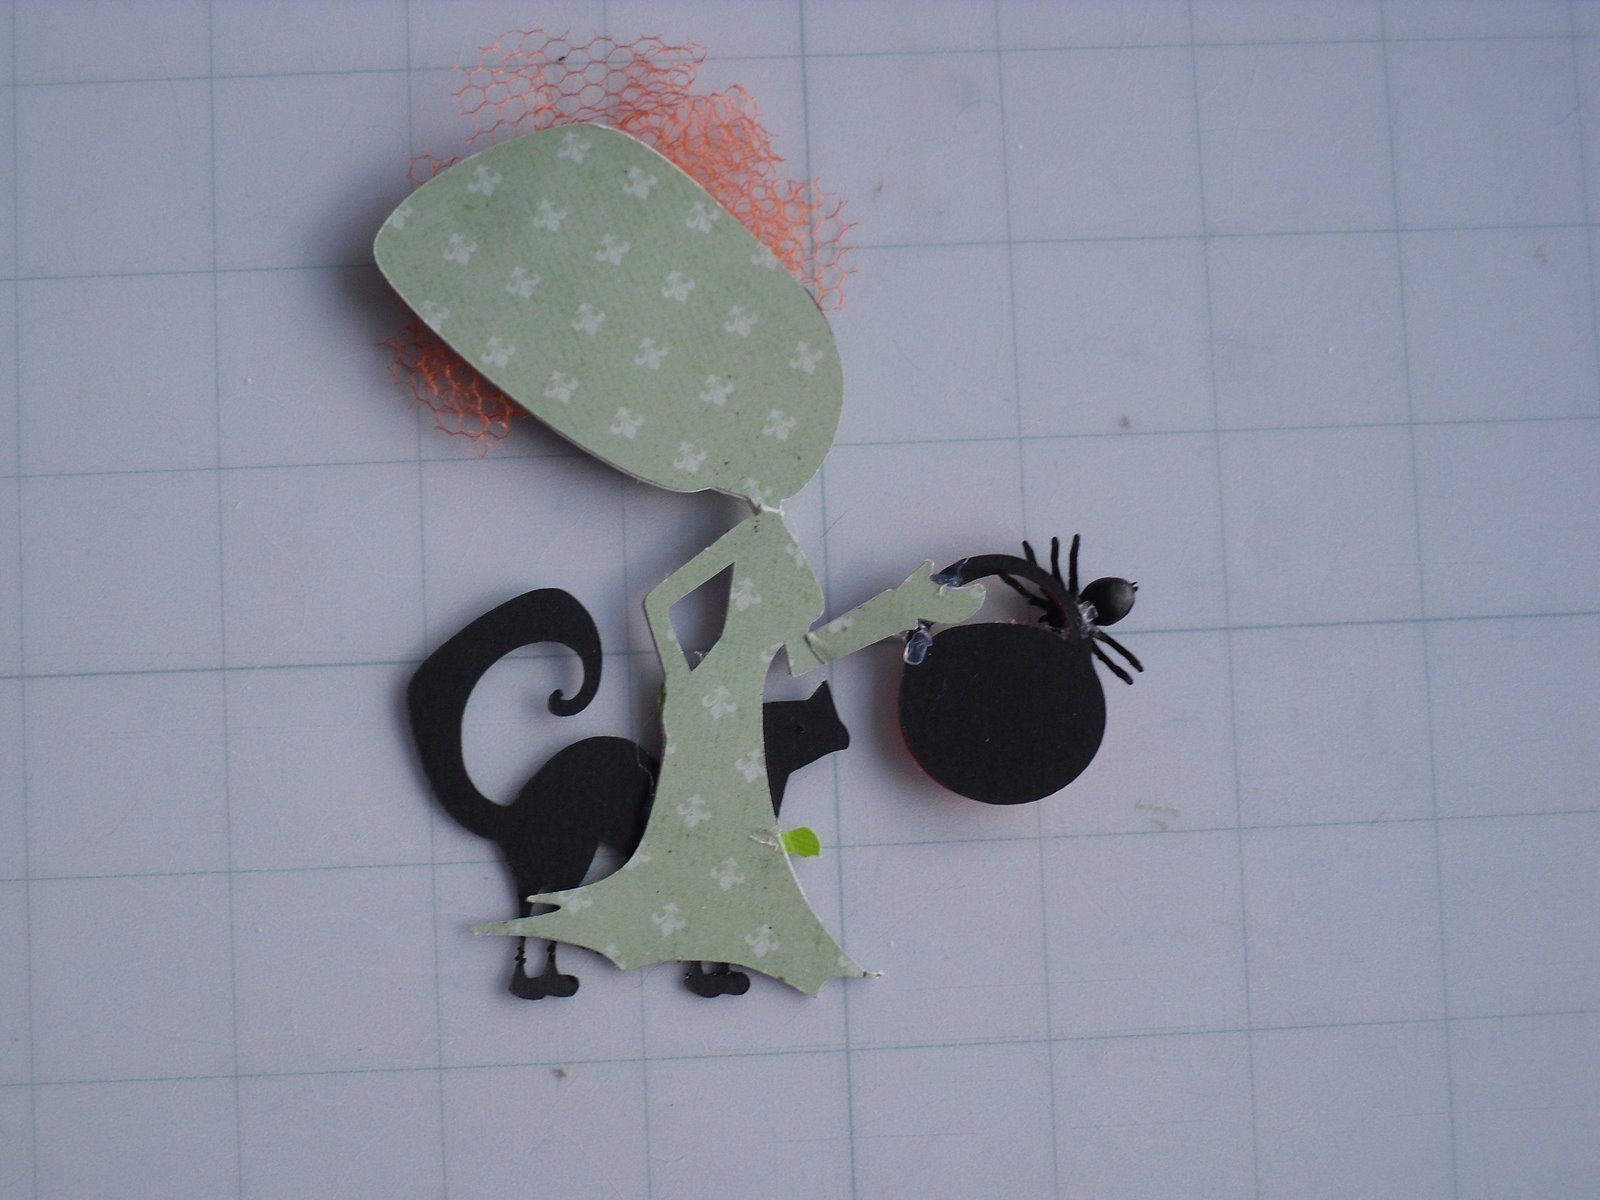
First thing I wanted to show you, do you recognize this cut out?  The smart woman who created this cutout used ugly paper as a backing, knowing it wasn't going to matter to the final result.  I think that's a very good way to use supplies.
\
left side

right side, there she is in the middle, not ugly at all.

Here's the completed layout.  I penciled in the year until I figure out a nicer way to add that detail.  Whoops, sorry about the extra clutter at the top of the picture.  I wasn't in a cleaning up mode rushing to get these pictures done.  Background paper was from my stash.

Posted by Picasa
Yes, Boomer made a sneaky appearance 5 times in this layout, naughty kitty!
Have a great day!

Sunday, October 9, 2011

Canadian Online Swarm ~ Challenge 3 of 4


The Challenge:
Sunday Oct 2, 2011.  Silly pet or animal scrapbook layout ,
A favorite stuffed toy is okay too.
Using all 3 criteria:
1. Use texture: fuzz, fibre, ribbon, string, thick paint, emboss/deboss…
2.  lumps/bumps: lace, buttons, folding, popdots, pop-ups…
3.  Use at least one cricut cut, your choice of image.

I intend to do the rest of the challenges, but I am running out of time, the deadline is October 10, 2011.  Some of you know I have been in slow motion from a bad cold for September so its very nice to be doing a little more now that I'm feeling better.

 Using the cricut, gypsy, and "French Mannor" cartridge, I cut out the scalloped sheet from "coordinations" paper.  It is 2 sided, but it has a coloured core so the paper can be manipulated different ways to allow the core colour to show through.  I started off doodle embossing on the 12x12 rubber sheet I got with the embossing tips from Amy Chomas Creations product line.  Check out my posts labeled "cricut tricks" if you are interested.  I used my old Fiskars dry Embossing table kit, aka "Scrap Boss" as the base surface.  I couldn't find my distress tool kit so I improvised with the cricut tool kit, the little spoon tool has a very sharp tip, perfect for doodle scraping the paper.  I will definitely try that again.
 I used the gypsy to cut the kitty from "four legged friends" cartridge at 6.4" x 3.55"   See the grey star paper, it was a nice surprise to see it made the perfect accent for Boomer colour.  I used some of the trendy twine I won from the last swarm, "blueberry" colour, some thread for whiskers, and foam dots to lift it off the page for some dimension.  I doodled the checkerboard pajamas with cricut markers after running the tip of the marker around the cut to dull the bright white borders of the cutout.   I'd never used cricut markers this way and highly recommend it.  The stubby end and thick plastic holding the nib makes it almost impossible to scribble the marker off the edge. 

 Boomer is modeling some cool socks that I made by running some dollar store socks through the serger to make narrow tubes 2 years ago.  I saw them blogged as an April fools joke a few years ago & thought it was so funny!  He did not prefer the closed toe socks and became adept at pulling them off very quickly.  Conversely, he didn't mind the leg warmers since he could still walk and climb, however hysterical his gait was initially, hee hee!  He's such a good sport, he really doesn't mind.

 "The cat's Pajamas" was from "meow" cartridge, but I reduced the right & left border manually with scissors.  
It took the whole afternoon puttering along but it was so relaxing to make this fun layout.
Happy Thanksgiving!

Saturday, July 23, 2011

Another online swarm

There is big cricut events in the USA right now involving crafters who use cricut machines, aka "a swarm."  Often there is an organized online swarm with challenges and its online right now.  The organizers post challenges each day.  The theme of this online swarm is "Christmas in July."  I'm sure the theme is picked by people that have had spring & summer.  We've had 23+ days of grey & rain so its an especially tough theme for me after factoring in a late spring.  The challenges are flexible which is nice so many people can interpret the criteria and have some fun.

Chalenge # 1 is to create a scrapbook layout or a card based on a predesigned, pre-chosen template from www.pagemaps.com  The best thing about these templates is there is room for playing around.  It can be reversed or flipped, 4 small elements can be reinterpreted as one large square, elements can be swapped by gender or purpose...  The pagemap just lays out the formula for balance & design so you don't have to stress out, just play around.

I used Dude Lite cartridge for the tread border, the gear, and the splat.  I used Indie Art Cartridge for the cassette tape.  I had trouble with the colour ranges to make the pictures show up on grey winter coloured background paper.  The red really shows contrast while there is room to hand write more details between the tape & the splat.  I grunged up the cassette tape with various inks to make it look more masculine.
Edited to add:  I forgot that I had some making memories brand glitter chipboard accents that perfectly match the truck colour.  I like how it zips it up a bit, not quite girlie but some bling is nice.

Challenge #2 is to create a card, layout, or 3D element in Christmas or winter theme.  I used the card pagemap for a Christmas card. 

  I used the Christmas digital gypsy cartridge for the tree and "Seasons Greetings" on a shadow of green vellum.  The base rectangle is red spotty paper from my stash. Next there is a vellum white polkadots overlay.  The tree, words & snowflake are cut from silver ConTac paper, but on top of their own shadow layer of green vellum.  The sun came out briefly & really surprised me with strong contrast.  I will have to redo these pictures later some time.

 Challenge #3 is to step out of your comfort zone.  
If you are a card maker, make a scrapbook layout.  
If you are a scrapbooker, make a card. 
Use material you've never used before.  
Make a 3D item if you've never made one before.  
Use a tutorial you've been wanting to try.

 I went with the step cards that I've seen everywhere.  Take a 6x12 piece of paper, make score lines on the long side at 2" 4" 6" & 8".  Turn it & make slits 1.5" in and down.  I rushed it or I would have a picture to show, so much simpler than typing all this out.  I accordian folded the base, cut a cover & back at 4"x6" and used a package of pre-made chipboard embellishments a Circle pal gave me, Thanks Jen!

Sometimes its really great to be pushed to try something new and go play.  I can't wait to see what the other challenges are!

Friday, June 24, 2011

Canadian Eh!

To continue yesterday's post, here are the pictures!  I have had this rattling around in my head for a few days now. I got this done over two days.  I've been surfing the internet for Canadian inspiration and was only sort-of inspired.  I've been reading the Circle message-board chat & all these great challenges have been coming through.  There's always a challenge to use what you've got; to use a cricut cartridge you haven't used; to use a new product.  The ones that caught my attention were to make something Canadian (I started that challenge), and to make a layout ready for pictures.  This is some handmade paper that I got from a bulk pack at Costco a few years ago.  Its nice, but a bit bland.
 I bought 3 colour sprays to try.  Basic colour theory allows most colour combinations to be made from yellow, red, and blue.  I also have white and black so then whatever colour I make would be bright or dark enough.

These sprays all have a fine pearlized shine to them.  I used lemon meringue (yellow) Tattered angels brand glimmer mist; "perfect copper" and "forever blue" perfect pearls brand mists. I sprayed the blue across the top half to deepen the colour to more night sky looking.  Then I spritzed the copper close to the page & let the colour pool so I could tip the page to let it run across in streaks.  The yellow was added more to the right & middle of the page to bring out a green colour.
 The below picture shows more mists used.  I will keep secret until tomorrow how I made the bottom half of the page pearlized creamy looking.  These spray mists use up fast, kinda disappointing to me.
I used the gypsy digital font cartridge and welded the letters together.  I manually snipped off the inside lower curl of the C afterward because I didn't want to cut it out again, I just didn't like the look of a tail curling in like that.  I don't know the brand of papers used, they were all scraps, yippee!  It's way easier to assemble these layer things on the mat with a glue pen than to chase them all over a layout.
This is my first guess at placement of pieces.  I manually cut out the Inukshuk from scraps.  An Inukshuk is the singular Inuit word meaning "in the likeness of a human" or "someone was here" or "you're on the right path."  I just really liked the idea of early graffiti, hee hee!  The circle was a scrap of aluminum foil that I used to sharpen a punch.  I saved the circle in my scrap bin, but it didn't make the cut to be cast as the moon.
Here is the words layered.  I really like the look of the plaid peeking out.  I haven't glued anything down yet, still playing around.  The leafs are layered the same way the words are, cut from the gypsy wandering digital cartridge.  I edged the page with tattered angels glimmer glaze "midnight rendezvous" (deep denim blue) which is a fine glimmer paint to visually ground the edges.  The head has 2 layered leafs for visual interest.
This is it, this is the final look of the page layout.  The northern lights appearance don't seem to show up so well in the picture but for real they shimmer.  I also like the celebration effect, not quite hockey arms up, "we scored!" look either.  Oops, looks like I didn't snip the curl off the C on the plaid shadow layer in time for the pictures.  I just amputated it off now, no-one will know, eh.  Canada day coming up soon, I hope you have a nice one!

Wednesday, April 27, 2011

Contest entry

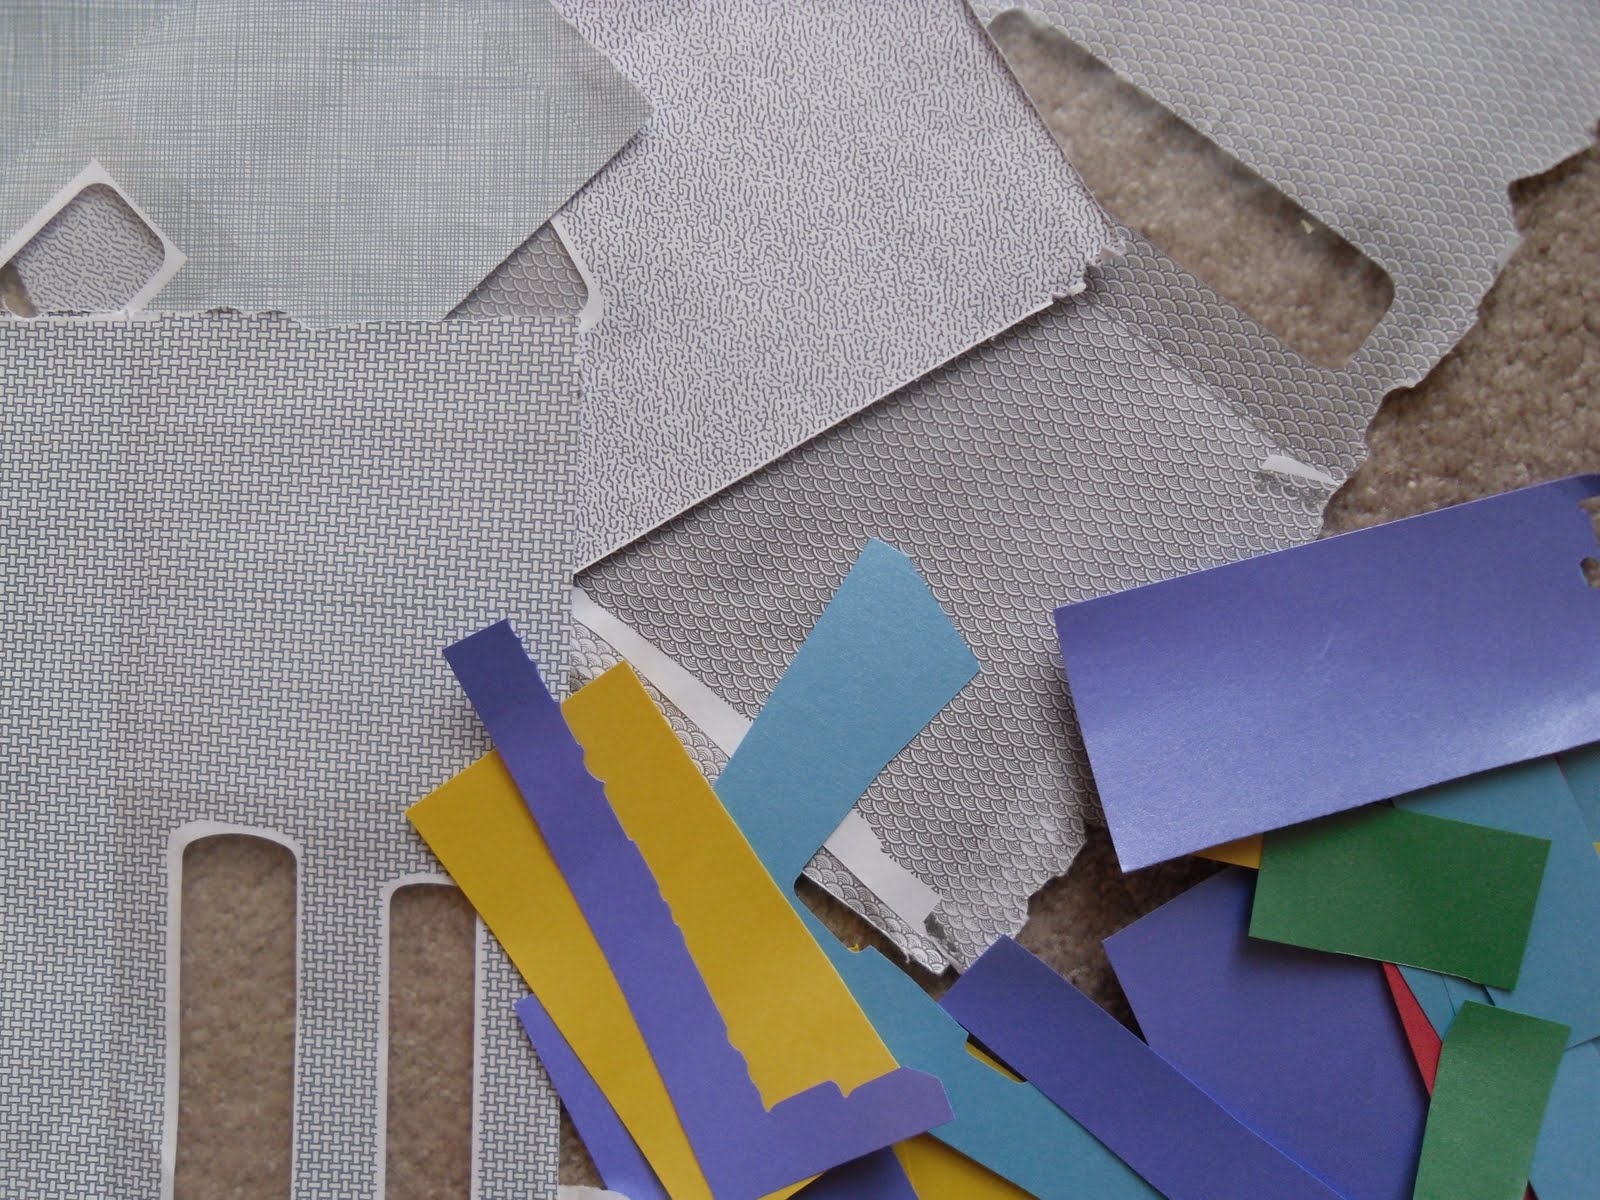
 So what are all these bits of paper for?  There's a Provocraft monthly challenge that ends April 30.  The challenge is to use 3 items, & a minimum of 3 cricut cuts.  There is a chance to win a Cricut Cake Mini machine, a Martha Stewart All Occasions Cartridge, or $50 credit on cricut.com.  I had Baby Bug cricut machine already plugged in ready to go, so I used it.  
 So I had these pretty shimmering Recollections brand scraps of paper and some security envelopes. An old Elmers glue stick, really old, it was gross & stringy, sticky but not dried up yet. A 6x12 cricut mat that I wrecked with a low heat iron trying to flatten out the curling edges whilst sandwiched between parchment paper.  Considering I only wrecked two & flattened five, that was a successful experiment.  I reused a really old piece of patterned paper as the base, smeared it with glue & used the old mat to catch over-gluing.  I tore up the strips of paper & covered that old paper.  Once it was covered I trimmed it square again.
I used my gypsy to weld the letters for the words "reduce, repurpose, recycle" from the "Elegant Cakes" cartridge font.  That green was 2 sided paper so I tore it in half & cut them out once from each side.  The security envelopes became those vertical bumpy vine details in the background, from "Accent Essentials" cartridge.   The security envelopes caused the blade to skip a little so be prepared for that if you try it.  I really hope that using all these things counts towards the challenge criteria.  I had the idea to use security envelopes for awhile now from Julie Fei Fan Balzer's blog, she knows how to play with her supplies & push her learning boundaries.  I really like her lesson to not be afraid to mess things up, wreck them & just get in there & try something.  Gluing the scraps onto ugly paper was an idea I read about making your own paper from scraps from a recent artist magazine, "Cloth Paper Scissors." 

The pictures are proof of my mini gardening last spring.  I sprouted tomatoes & various flowers in a plastic clamshell that came with some asian pears.  There's some other plastic containers being reused there.  Incidentally I reused my old yucky teflon pans to keep the mess off the carpet.  No more non-stick ovenware for me.  They only last 3 years & then they're landfill when the finish comes off since I refuse to cook with them with peeling finish.  I don't care if they're cheaper, I won't spend any more money that way.  Learning to be  environmentally conscious is all about making better choices.  Did you know that if non-stick ovenware is overheated they are known to release gasses that are toxic to cage birds!  Kinda reminds me of the old time minors keeping a live bird in the mines, if the bird died, everyone had to get out in a hurry or they were next.  

The tomatoes were transplanted to eggshells that I saved & dyed after the Easter eggs were dyed, less dye for the sewer system.  Tomatoes are reputed to need lots of calcuim to grow.  They were really pretty Mothers day gifts & neighbor gifts.  The ones I kept got black spots on the leaves, but my friends yielded some tomatoes.  The pictures really don't do them justice, but my home printer was running out of ink & I used what I had, so they're kinda grey looking.  They do stand out against the background & are complemented by the security papers.  I love it when things tie together the way I had intended. 

 Lastly I didn't like how the layout was sort-of floating on the paper.  I used a black sharpie marker to skim around the photos, then to rough scratch lines to box them in more, and around the entire layout as well. I figured there is still bits of black peeking through the scrap papers so why not tie it together.  The layout is composed with "the rule of thirds," three elements clustered together. I think it works even though there is four bubble vines and one heart in the middle.
I'll let you know if I win anything.

 I couldn't find the third picture to show the difference in colours but you get the idea.
May 2 came & went, no prize won.  Oh well, I had fun making it!