Showing posts with label Halloween. Show all posts

Friday, October 24, 2014

Fourth Annual Canadian Cricut Circle Swarm Challenge #3


Challenge #3  by BarbPoll
"My challenge is to use your Cricut machine to create 6 treat boxes of some sort to give to elderly people in your neighborhood this Halloween."

I have no idea how to watermark pictures, so I've been busy doing it the old fashioned way, right with the picture.  This was fun to make.  I used #B1453 Frightfully Fun stamp set, black memento ink, Recollections brand paper, Mayarts.com thread-web-lace, or that's what I'm calling it.  The bags are cut at 4" from Artiste CTMH Cricut cartridge, page 79, button 49 Feature key "3D Objects."  The "repeat last" button is really useful for this type of project.
I arranged the clear acrylic CTMH stamps on the paper how I wanted, then stuck the stamp block to the whole works.
I curved "Happy Hauntings"to complement the scalloped edge on one side of the block, and "trick or treat" on the other side of the block to stamp the bottom flap. This makes it an easy assembly line.
 Aren't they pretty? I was watching the time, and from start to finish, this project was done in 1.5 hours.  I raced the machine, scoring one as the cricut expression machine cut another, and I couldn't win.  But I was close!  Scoring with a ruler and bone folder or stylus makes the folding so much simpler.  These only needed two strips of Sookwang adhesive tape to assemble them.  That tape is neat, no scissors required, just tear what is needed.

They are loaded with candy, ready for my pharmacist friend to give away to customers needing pretty happiness.  I will be taking the whole works to them tomorrow.  I'm looking forward to it.

I challenge you to try these challenges yourself.  Or create anything you like, just give the end result away.  We are so fortunate to be able to create the things we do, sharing it makes the world a better place.  Happy belated Thanksgiving!  
AND, Happy Halloween!!!

Fourth Annual Canadian Cricut Circle Swarm Challenge #1

On the Canadian Chat in the Cricut Circle messageboard we do an online "swarm" where people that offer prizes can issue challenges to win their prizes.  Its a lot of fun to see what everyone creates.  Unfortunately this is probably the least active year since its begun.  Fortunately, I've found some time and done all 3 challenges!  As always, click on any picture to enlarge details if you like.

Challenge #1: 
My challenge has 3 parts. As everyone knows from previous swarms, we are soooooooooo (not) very strict about our rules, LOL! Just play along, have fun, cross enter your entries in other things if it suits you. Just show us what you make to count as an entry.

I challenge you to fulfill your entry with all 3 components.
A. Create 6 cards: all the same or all different, any size, any theme, but they must be functional cards, not tags or postcards.

B Stamp an image on each card and Colour it however you desire: colour all or part, colour with chalk, colour with ink, colour with markers, colour with pencil-crayons, colour with water-colour... You get the idea. You could even go crazy, colour the embellishments, colour the paper, have fun!
BigGrinBUT, at least one of the 6 cards must be Halloween themed, interpret as you like with colour, season, image, etc...

C. Post a picture of your creations, and then give them away, with envelopes to fit. Give them to a nursing home, an elderly neighbor, a charity group, a shelter program, it's your choice where, just give them away and let us know how that worked out for you. This is a way of celebrating being thankful for our creativity, and the Thanksgiving portion of this season's challenge.


 This is the Blooming heart Stamp #M1045 stamped with Memento tuxedo black ink, coloured with ShinHan twin touch alcohol markers, cut on white daisy cardstock to make 3 inch note cards.  With black pen I hand doodled a rustic outline.  The image is matted on retired CTMH paper.  I've seen these done on youtube and a few blogs and had to try it.  It's a great way to play around with the new markers.

The next 6 cards are made using the "Better with a Friend" #D1608 page 9 Hostess rewards, of the 2014-15 CTMH Idea book.  It (and 2 other stamp sets) came with my new ShinHan markers as a consultant perk.  Images are stamped using Memento Tuxedo black ink, and coloured with those fancy new markers.  The sentiments are stamped from the "Artfully Sent" cartridge.  Yes, I scraped together some cash and got my hands on it, more on that later!  Some of these cards are edged in CTMH Washi Tape.  That's fancy Japanese trend speak for patterned paper tape that is all the rage right now.  Really great value with CTMH, the rolls are not stingy!  A few of the cards are grounded using Bakers Twine, both CTMH metalic, or from "the Twinery" company which I won a few years ago.

 Honestly, I don't know why these are sideways.  If anyone out there in cyberspace can help me figure it out simply and easily, I'd appreciate it.  The silly thing is that I took all the pictures in the same orientation, baffles me why blogger turned some but not all.

 The one above uses remnants from my "Pathfinding Cardmaking Kit."  I doubled it and made 30 cards, and still have scraps to make more cards! 
 The green blocks pattern paper is from my stash, unknown manufacturer.  I love how it complements her skin tone, LOL!

Here is all 6 cards, thankfully not cockeyed!  I will be giving these cards to my pharmacist and his wife to give away to their customers.  Together they run a locally owned business called Tabour Pharmacy.  They are really kind, caring, generous people.  They will know just who will need a little something pretty to share happiness with.

Tuesday, November 5, 2013

Halloween Mini Book


Halloween Mini book cover
I have had this 'lil book done for awhile now but life keeps popping up keeping me from blogging it.  Excuses aside, are you ready?  This is a big blog entry, lots of pictures of my 22 page book made with the CTMH Artbooking Cartridge for the Cricut machine!  I will list the supplies as I go and at the end.  I set the dial at 6", used buttons 17 & 18 (pages 54, 55 in the handbook).   I found the 6" pages would tell my cricut expression I could only cut one.  I could see there was plenty of room on the page so I would unload the mat, remove the page cut, turn the mat around to reload & cut another page.  I always have the paper saver button on.  All cricut images are designed with an imaginary border to size on the machine so when it calculates cuts it can tell you if you have enough room.  Like using a GPS, sometimes you have to apply common sense to out-think the electronics, LOL!

This book is made with retired My reflections "spellbound" paper pack from CTMH from my stash.  The coloured part of the face is clear plastic portfolio scraps from back to school supply sales, that stuff cuts "like buttahhhh" in the cricut.  I hope to show you in another post what I've been doing with it.  Like I said, I've been busy busy busy, so I need to squeek in some crafting play time too.
 Page 2 & 3.  This is my sweet boy at 8 months age,  a teenager now.  The Happy Halloween words are backed with Black Shimmer Trim, the cat eyes are Epoxy bubbles, I really like the iridescent stare they give.

 Page 4 & 5. My pumpkin is 2 years here.  Page 5 is more of the clear plastic portfolio scraps sandwiched between 2 pages cut the same, glued with Liquid glass.  Interesting that one side is shiny & one side is matte for that plastic.
 Page 6 &7.  Page 7 is Distressed Backgrounds, sunset ink, black ink, slate ink.  The spider is an accent from the Artbooking cartridge.  It is easiest to cut a bunch of accents all at the same time while the paper is loaded on the mat.  I figure I've gone to the trouble of picking & loading papers, the scrap may as well get to work for me giving options to play with when assembling.  Of course it gives me loads of offcuts, but they go in a baggie to be used on other projects, or give away to school or a friend.  I also keep bigger scrap papers until projects are done.  That is the best way to test inks etc as I create.  No sense testing on the project itself if I don't need to.
 Page 8 & 9.  The cat in the hat is 3 years old. The embellishment is a tag from a toy.  The witch is me, I made that mandarin style dress for an event that fell through, but it made a fabulous costume!  Trick or treat I cut from 2 different papers to offset layers for a shadow effect.  The bonding memories glue pen makes easy work of adding little things like that.
 Page 10 & 11.  "Fright" is popped up on foam tape.  My Vampire is 5 years old here~ scary!
 Page 12 & 13.  There's a 4 year old running around on Page 12, and  the owl is popped up on foam tape.  Page 13 is 2 cuts the same with pale green vellum sandwiched in between, glued with Liquid glass. 
 Page 14 & 15.   My Ninja is 8 years old I think?  I used sparkles flourish, and the "zip strips" that are on the edge of CTMH pattern paper. 
 Page 16 & 17.  I had this idea stuck in my head for a long time. I've seen it done on fancy store bought cards.  I cut 2 spirals from the lolly pop swirl in the Artbooking cartridge and used the centre swirl.  Glueing them together by leaving one on the cricut mat and applying the second made it easy to do.  1 layer wouldn't be sturdy enough I think?  These are more accent cuts, 2 layers glued together right on the spiral.
 Page 18 & 19.  Page 18 is another zip strip border.  My pumpkin is about 11 years old here.  The spiderweb is decorated with Bakers twine- autumn terracotta, the spider got a slick of liquid glass to make her shiney.  The centre accent is from retired CTMH product that coordinated with the paper pack.  I wish I had used grey fun foam instead of white pop dots from my stash.  Tilting the page to the side it doesn't look very nice.  Oh well, I'm not changing it now.
 Page 20 & 21.  I glimmer misted the spider web on the grey page so it made a nice page waiting for a picture I can't find right now.  The grey paper had an oops cut out of it but I didn't want to cut another.  I stamped houndstooth in white daisy ink on the black layer of the pumpkin face & stuck it down with a brad.  Creepy creatures,  stamp set, stamped in black, white daisy, autumn terracotta.  The orange is matted on the houndstooth paper.  I used my corner rounder with the guard off to create the scallop edge.
Page 22.  I used 2" Office BinderZ, an old retired product from my stash, but they are like this 2-Piece-Fasteners.
I used retired My reflections "spellbound" paper pack, Liquid glass, bonding memories glue pen, MyAcrylix Spritz stamp cleaner, stamp scrubber, Distressed Backgrounds, creepy creatures, Bakers Twine, My Acrylix blocks, Inks:  sunset ink or Autumn terracotta ink, slate ink, black ink, white daisy ink. sparkles flourish, Black sharpie marker to edge, corner rounder, 2" scallop punch, mini medley accents, Black Shimmer Trim,

Overall I really enjoyed puttering along creating this book.  I have been working in batches these days.  One day I did all the cutting, another day finessing accents and picking pictures.  Then the fun part was choosing page order and playing in the details.  The nicest part about using the Artbooking cartridge was setting the dial to one size and not having to play around with sizes, it all coordinated.  EASY, simple, and I get all the credit, what's not to love?

Thanks for being patient with me, baby boy is 11 months old now, busier than ever of course!  I hope everyone had a Happy Halloween! 

Monday, October 1, 2012

Zombie Halloween

I wanted to title this, "My little Zombie" because of the cute factor and vague reference to "My little Pony" but decided against it.  These were Halloween 2011 pictures.


I cut out the word Zombie from Happy Hauntings cartridge using gypsy & cricut, about 3.5"  high.  The papers are from my stash.  I used orange & brown chalk on the yellow layer to dingy it, it was too bright.  In the above picture the "ie" are bright yellow still, just showing the contrast.  The grey stars lower border paper is covering up a yellow/red diamond pattern border that was far too bright and circus looking.  I chewed up the ripped edges of the red photo frames, inked them with brown and deep red.  The October 31 bling is "Me & my big ideas" brand bling stickers I found on clearance.

Posted by PicasaHappy Halloween!

Friday, September 21, 2012

First Challenge, Canadian Swarm 2012


Create a Halloween Decor Item. It can be a sign, banner, luminary, treat bag, etc. The sky is the limit.

Your project must include the following:
1) At least one Cricut Cut
2) The colour purple

Your project must include one of the following:
1) Glitter
2) Ribbon
3) Use of a cuttlebug folder.

I'm doing double duty with this challenge.  I was inspired to make a "treat bag topper," which I've always kinda wanted to try but never done before.  A treat bag topper is something that pretties up the open end of a bag.  I used my new CTMH Artiste cartridge, choosing the toombstone "RIP" image at 5.65"high x 3.12" w on my gypsy.  I used my trusty silver ConTact shelf liner for the RIP, and edged with a Permapaque purple pen by Sakura.  The base is sized accordingly from plum paper & inked the edges with purple ink, both from my stash.  I used purple ribboon to tie the loot securely, & my TimHoltz mini-stapler to attatch the toombstone.  I wasn't sure about using the CTMH gift bag since it was so big, but I really like the swirly pattern and the way it poofs out the top.  I handwrote under the RIP "Summer 2012".


Of all the early stuff in stores for back-to-school, Halloween, and Christmas, I enjoy Halloween most of all.  Happy Spooking!

Wednesday, November 16, 2011

Halloween 2 page Layout


Ta daaaaaaaa, 
This was the easiest, most fancy 2 page scrapbook layout ever.   Many thanks to my friends on the cricut circle messageboard for the cuts from the swap I showed last post.  As always, click on the picture to enlarge if you like.


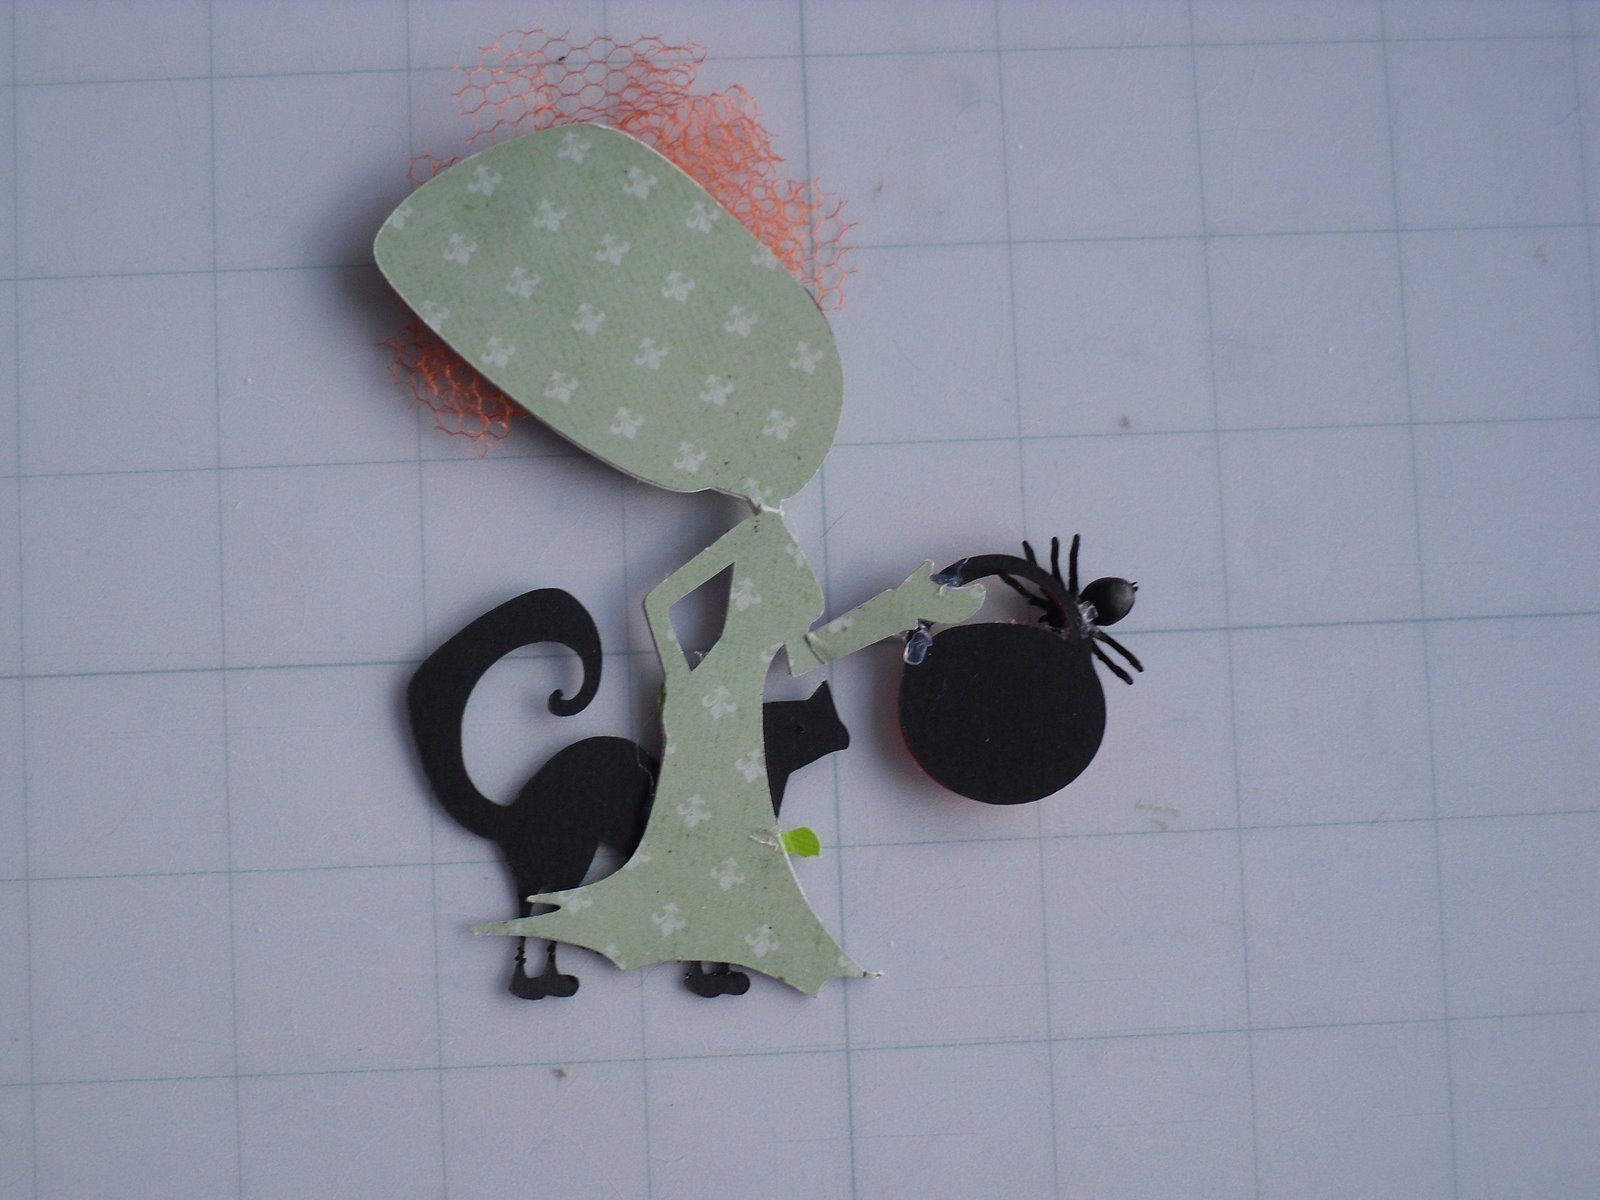
First thing I wanted to show you, do you recognize this cut out?  The smart woman who created this cutout used ugly paper as a backing, knowing it wasn't going to matter to the final result.  I think that's a very good way to use supplies.
\
left side

right side, there she is in the middle, not ugly at all.

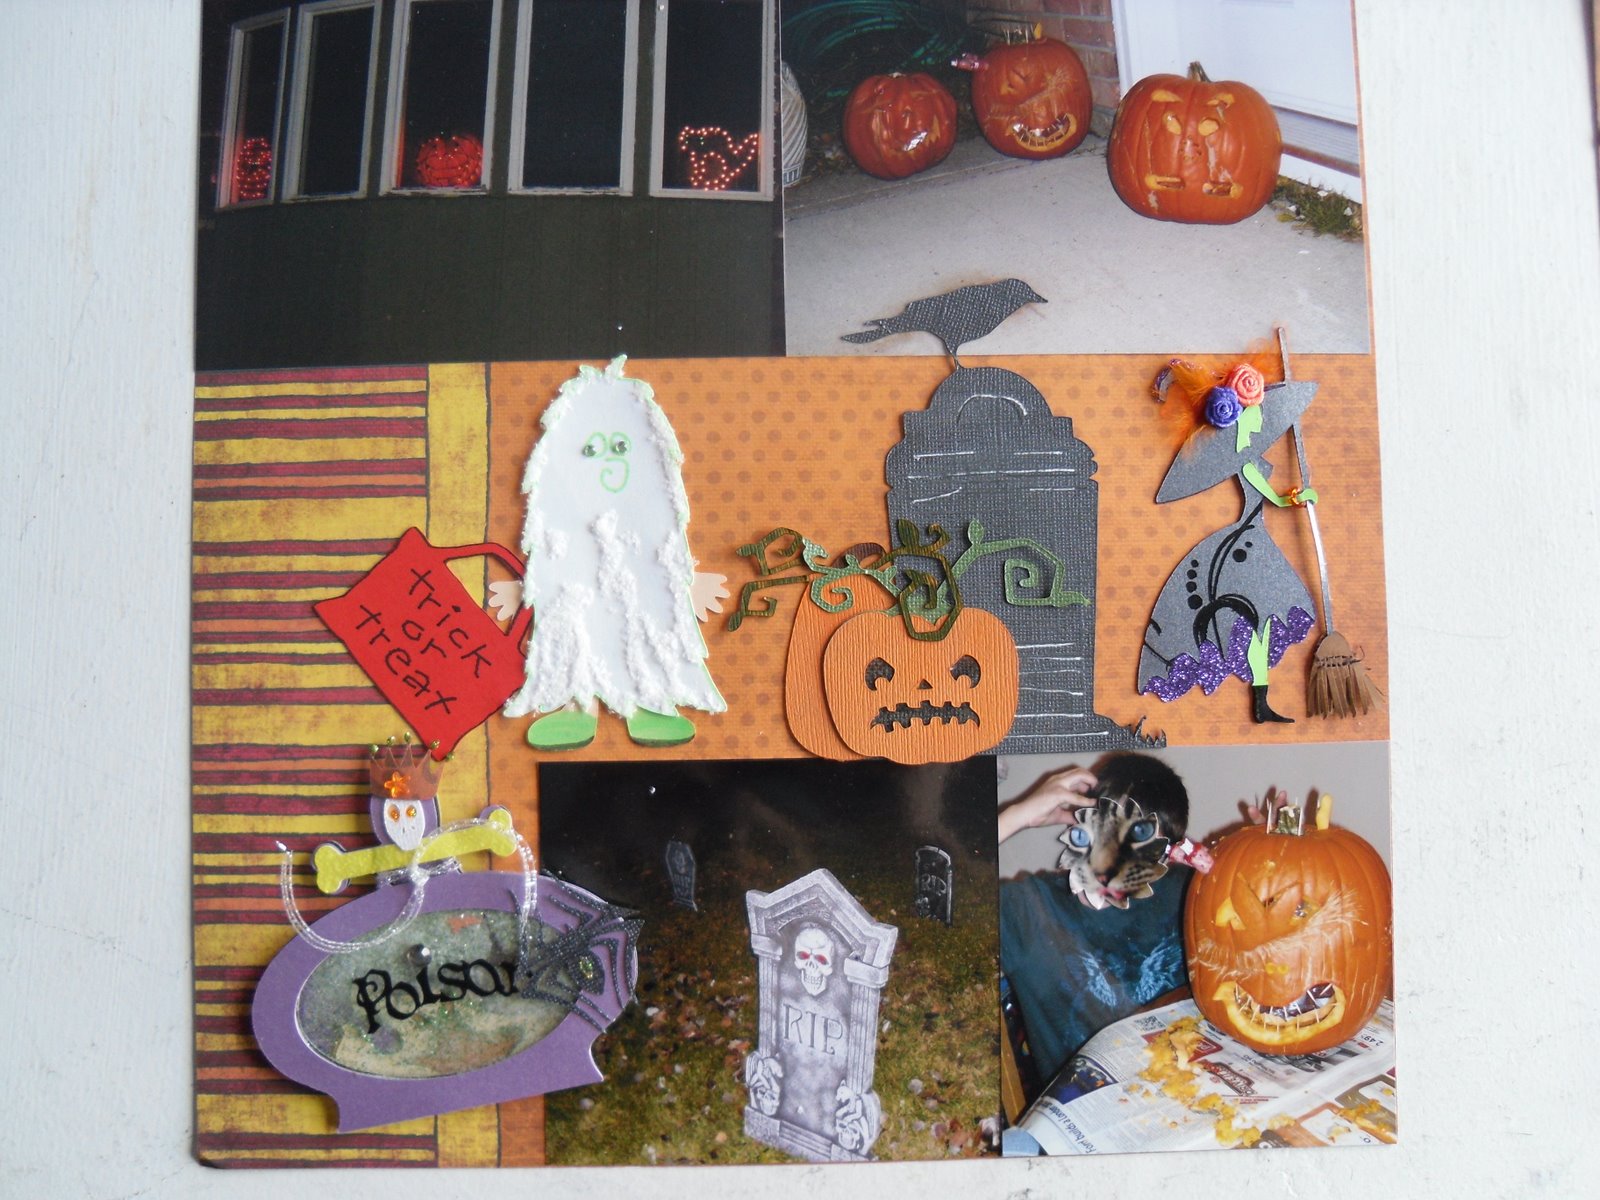
Here's the completed layout.  I penciled in the year until I figure out a nicer way to add that detail.  Whoops, sorry about the extra clutter at the top of the picture.  I wasn't in a cleaning up mode rushing to get these pictures done.  Background paper was from my stash.

Posted by Picasa
Yes, Boomer made a sneaky appearance 5 times in this layout, naughty kitty!
Have a great day!

Saturday, November 12, 2011

Halloween Swap returns

Great mail this week, the Halloween cut swap came back!  Here's the details to refresh your memory Halloween swap.  Participants picked a cricut image to cut out & embellish with at least 3 different techniques.  I can't account for what cuts these are or all the techniques used, but I really enjoy them.  As always, click on the picture to enlarge.

That crow looks like he's going to tell off Mrs.Frankenstein, the nerve!  The paper has shimmer, the lines on the tombstone have been accented with a white pen, and the pumpkins & rust coloured vine look painted.  Mrs.F has a lovely mini plastic spider on her candy bucket.  Even her kitty muse has sparkle on his tie.  Did you see her earring?  Of course her hair is fabulously accented with tule.

I apologize for the old ruler trick but it helps me check that the pictures are clear.  Its a snowy day and the light isn't optimal today.  The tree & bat were packaged with a cute bag topper, I had to open it to get a  better picture.  Ghostie has what looks like "Peachy Keen" brand stamp face, as does the embossed bat.  I love pumpkin head, he's embossed too, check out his button eyes and glimmering mouth.

The jar of poison has mysterious things hidden in the swirling shimmering powder, its a shaker box, encapsulated with foam adhesive to contain its secrets.  Check out the glamour witches broom, great details! Glitter and ribbon and feathers, oh MY!

You've already met my lil trick or treater.  Bone-zie here has a secret!  He's been cut with cricut pens, cut out, and encrusted with sparkle.

I charged him under a light & went to the creepy scary furnace room to capture his cool!

Posted by Picasa
I'm so proud of my circle message-board friends, they rock!  I will hoard these gently until I can do a layout for Halloween 2011, soon, bwwaaa haaa haa haaaaaaaaa!!!!!

Sunday, October 23, 2011

Online Canadian Swarm ~ exchange


The deadline for this has already passed, but I was so pleased with how these turned out I wanted to share.  I can't seem to get rid of the underline to start this post, you'll just have to believe me, I tried.


Halloween cricut Cut exchange ~ read on: 
Participants need to commit by Oct 13, ready to mail by Oct 24, 2011.
Choose a layered or plain Halloween theme image, cut it out about 3-4”.
Use a minimum of 3 embellishment types of your choice: bling, glitter, glitter glue, ink, stamp, pen/gelpen/marker, paint, emboss/deboss, stitch, distress…

BUT, you must show & tell.   Baggie and include with each cut a short print out your contact info (real name, MB name, anything more you want to include is your choice) info of the cut (from what cart, what you did to it) to enclose with your swap.  At 3-4” these will make a nice card accent or scrapbook layout accent, while not being too small to have some fun decorating.  Bonus "feel good points" if you try a new-to-you technique you have always wanted to try.

What is this sparkle stuff?  
Hard craft foam shapes, rubbed together, yields textured sparkles.  I learned of this from the circle messageboard and been wanting to try it on something.
Using my gypsy, I cut out some  monsters from the "Paper-doll Dress up" cartridge.   I used the cricut pens to "draw," and hid the faces on another screen to cut out the shape.  I randomly glued the outline & stringy lines to simulate draped fabric, then sprinkled the foam sparkles across the wet glue.  Dipping the wet glued paper into the sprinkles makes gobs of smeary mess.  The blue & white paper is scrap paper for easy clean up.
Here's a before & after picture of the foam sprinkles detail.  I used recollections brand shimmer paper, I think its quite ghostie looking.
   Here's the completed trick or treaters.  I used green sparkle jems for the eyes.  I altered the bag to make it a little more "squat" looking with the gypsy, so it would hold more loot!  I used the same marker technique I used on the costume.  The bag is not permanently attached so people can put it in left or right hand as they please.  The little body underneath was too naked looking so I used green marker to make little shoes, and brown marker for soles.  They're almost 4" tall, cute lil spooks!
 The beauty of this challenge is, when using at least 3 different details, it becomes more visually interesting.  That is what makes cricut cutouts so versatile, jazzing them up with embellishments.


Participants sent their swap SASE to a circle member.  Ooops, I just realized I didn't send the cut information with mine, 
too late now, its in the mail.  
One more post coming, to show what I receive from the swap :)

Sunday, October 16, 2011

Trick or Treat


Posted by Picasa

Last year no one could stay home to hand out candy for halloween.  This is the sign I made with black and red cricut vinyl with my Gypsy and little cricut.  I used vinyl so I didn't have to mess around with glue to put the words on the cardboard.  All images are from Happy Hauntings cartridge.  Trickortreat was cut at 11.41" wide x 3.59"  high.  The words are about 2.92" high and I took some time to skew some letters crooked, up and down, and some are enlarged or shrunken to make it more authentic looking.

It says "Trick or treat, take 1 if you are bad, take 2 if you are really bad, if the basket is empty then someone before you was really rotten."  My son & I went T&T ing and came back 3 times and only once was the basket empty.  I figured it was better to try to participate rather than get egged.

Sunday, October 9, 2011

Getting ready for Halloween

 Aren't these great?  I used my Gypsy to make the hand as big as I could to cut out on my little cricut for the 6x12" mat.  I cut 4 hands out of posterboard.  I glue-gunned them onto used chopsticks, both sides for stiffness.  I used Plaid brand glow in the dark acrylic paint, & while it was wet I sprinkled it with Martha Stewart glow in the dark glitter.  
 The Glitter seems to glow brighter.  eeeerie & spooky, just the look I was going for!
Sorry, another sideways picture.  Don't they look great sticking out of my planters?