Every time I get a new cartridge I like to do some test cuts so see how it is. There is a 90 day warrantee on cartridges, even though Provocraft is a pretty good company to deal with, its smart to use cartridges, that's what I bought them for. I'll admit, when I first learned to use a cricut I was very cautious about using the machine, laying paper on the mat, slowly working through the steps. Lately I've bought 10 new cartridges, I don't have time to test all the images. I read the messageboards and note what people are saying about faulty cartridges. Once or twice a year I go to the cartridge list on cricut.com, copy them all into a word file, clean up the formatting, and print them. I like to have a paper copy to refer to, deface, and add random notes. I note what cartridges are similar, how many missing images per cartridge, which ones are retired, which ones have fonts, which ones I have, really want, sort-of want, and would never want. As new titles are released I add in the margins so it does stay current without re-printing all the time.

I'll tell you about this pile towards the end of this post.
I wait for good sales and buy several cartridges when I can, between sales I stalk. I review the gypsy, cricut.com, and fellow bloggers to see what the images look like. I don't use "the cricut craftroom" or "design studio" programs. When I get a new cartridge: I rip out the extra languages pages; read through the handbook, note how many blank or missing images are on the cartridge on the package. When I remember I put a sticky note with ideas that occur to me as I review the handbook. Then I have to register the cartridges, and claim the points certificates. It is great not to do the registration immediately, sometimes there's a double points promotion. Finally, points that add up to something useful, I think I have cashed in points for at least 8 free cartridges from cricutrewards.com!

I like to number the handbook images 1-50 to match the keypad so that it is easier to get the same button for all the layers. I've had my share of grrrr moments and wasted paper by cutting the wrong layer. To help stop that I put numbers at the top & side of the button pad to clue me in which button is which. 1-9 go across the top row and the columns end in 10, 20, 30, 40, 50, much easier. It shows slightly behind the cartridge overlay. This really helps to make it easier to speed up ease of use with the handbook numbered. The newer handbooks have itty bitty reference overlay with each appropriate button noted in red. That helps but sometimes that is hard to see when my eyes are tired.

Now I can start my test cuts. I cherry pick through the handbook until I find an image I like, and fold the book back on itself. That is to keep my eye from going to the wrong image layers, easy to do when going quickly and wanting to get on with it. I go with 3-4" test cuts, it seems to be versatile size to use on a card or scrapbook layout. The key is to NOT change the dial size for any of the layers. More on that later.

Now, here is the shocking part. I use as much scrap papers as I can. If I have to do exact measurements or locations, I will write it down exactly where the blade location is for reference. I don't need to be that fussy for test cuts. The cricut usually knows where I have already cut something on the mat and that will sometimes make it squawk and beep that there's not enough space or some nonsense with its invisible image margins. The trick is to hit "clear display" or unload & re-load if its being a pain. Having the "Paper saving" button on all the time helps too. I'll admit, guess-timating with scraps sometimes wastes a paper if the blade goes over or the image is oriented in a surprising direction. It doesn't happen enough to make me stop using scraps!

I start with a dark or light colour as the base colour, depending on the image I don't always use a shadow layer. I stick that scrap paper on the mat, check the blade, the pressure and the speed, load the mat, pick the image and cut. From the Robots cartridge I chose Robot 18, page 45 from the handbook and cut the base out of white at 4". Then I move the blade over to get it out of the way, remove the excess paper and leave the cut on the mat.
.
I lay down the next colour close by the first cut, move the blade back, pick the layer and cut. Shift + base image button 18 out of grey. See some of the cuts come up with the paper? No biggie, leave them as they are, but cut away the excess paper and leave it as a chunk on the mat.
Layer 1 button, + button 18 = green face
Look at that huge scrap of black paper! It shows up as grey from the flash. It's so big it hangs off the end of the mat. Have no fear, the cricut knows how big the mat is, I know this layer is itty bitty bits, plenty of room. Never let the overhang go on the right or left of the mat, it will gum up the rollers. This overhang trick is especially satisfying to do on a 6x12 cricut machine. This is Layer 1 button + shift + button 18, but somehow the stinking dial got bumped to 4.5" so I just left it, they're only test cuts. What did I say earlier? To leave the dial at the same size for the whole image, hmmm, lets see what happens.
Any image cuts can be done with this system, just repeat until all the layers are done. I often do extra cuts of the itty bitty or fussy cuts, sometimes those go missing, or don't cut cooperatively and its easier to have a spare cut than to go back & re-do it.

Time to unload the mat and weed out the waste paper. Then take the smallest cut, check it against its layer for position, glue it, repeat until all done. OR for some images it is better to do a test run of all the bits laid out before glueing commences. The spatula tool really helps lifting cuts off the mat. I use a painters spatula interchangeably with the brand spatula, cheaper tool and it works well for longer peices. Glueing is simple with a zig fine tip glue pen or the little 2" zyron. Its not a big deal to get some extra glue on the mat, because it seems to be a similar formulation to the mat glue. Many people on the cricut messageboard are reporting they re-stick their mats with zig glue or Aleenes glue, good to know they can be re-used. Another good tip I have read recently is to flip all the images so they are all upside down waiting for glue. I'll have to try that some time, the expression has that button.

Above shows the rough placement. Below shows the bits after pushing them through the 2" xyron sticker maker (that orange X thing above). I'm not overly impressed with the static flicking the bits & making it tricky to suck them through the thing. I don't recommend it for tiny bits.
Sorry about the flash glare. Mr Robot is all glued together. See how the black bits look goofy, maybe I did that deliberately eh! Click on the picture to sort of see the handbook example.
Once its all off the mat & I'm done with marathon cutting I use a non-fragrance, non-alcohol baby wipe to wipe off the mat of little linty paper bits. The tiny bit of moisture it imparts seems to help re-sticky the mat a bit longer.
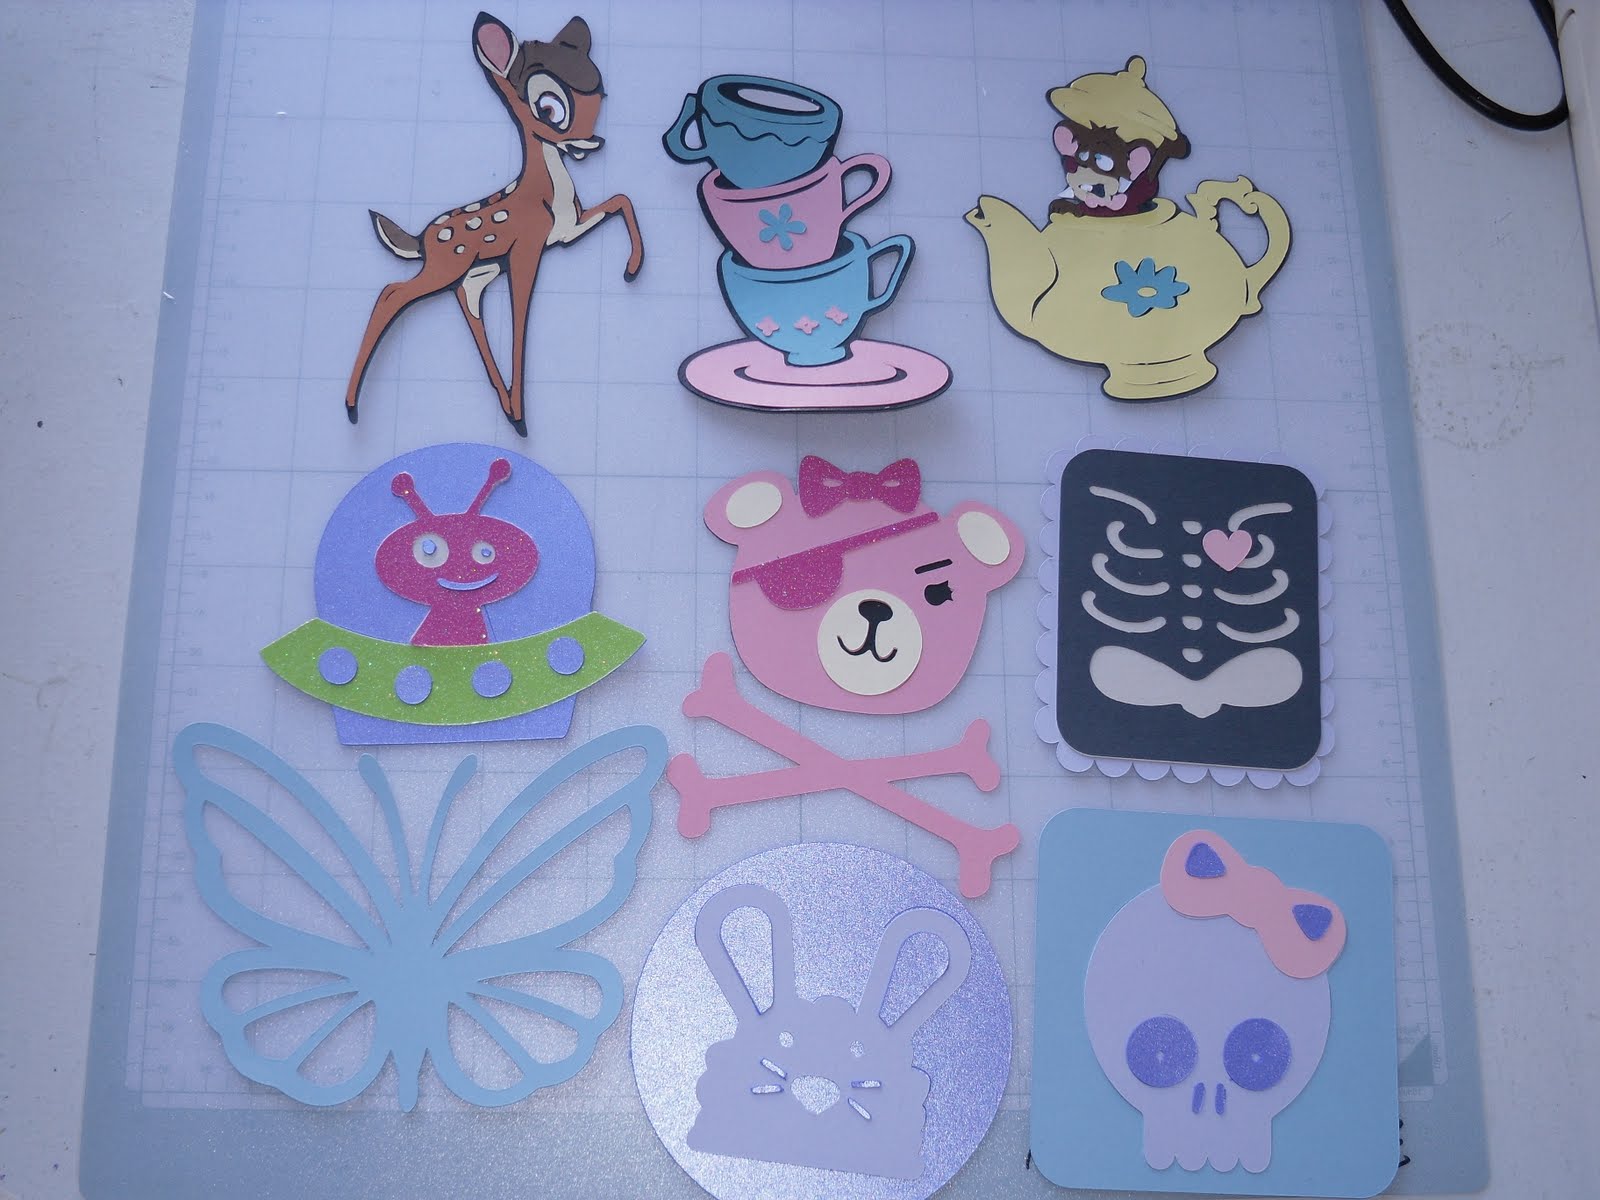
Here's what I've been up to. Don't ask me which cartridges the images came from, I didn't take any notes. The papers are from my stash. Some of the cuts are 2" just to use up the paper.
As always, click on a picture to see details. I took the pictures on a 12x12 mat flipped over. You can kind-of see where I wrote with sharpie marker. I number & date mats as I use them so I have an idea how old they are getting. The older they are, the better value I got out of them. I also write on the clear overlay "Right" so that I always put it on the mat correctly to preserve the sticky. Did you know there's some kind of coating on the overlays and permanent markers will only write on one side? Strange but true.
Bambi was cut at 4" and I didn't think she was much fun to create that small.
As these are test cuts I didn't bother weeding all the waste paper away. They don't seem to tangle in a folder as badly to store this way.
See how pretty the negative piece is for the paisly? I don't know what I would do with it but it looked worthy of saving.
Here's another oops. I didn't have the blade or pressure set enough to cut through. I saved them anyway, they could be hand cut later or just chalked to make the lines darker. I don't prefer live bears, but paper bears are cool.
The lions were so cute I had to make 2, they were chalked to bring out their cuteness. Saving the scraps also makes it easier to reposition if these ever make it onto a project, like for the penguin dude.
Sometimes I cut multiples in different sizes just to see what will happen. Cool ideas can come when playing around.
I bring the whole pile of test cuts when I get out to scrapbook with friends, and that's fun to share. It is so much faster to not have to load & unload the mat constantly. I read the cricut messageboards extensively and I am happy to pass along what I have learned from people sharing their knowledge. This is different than preplanning with the gypsy, this is freestyle, and its fast! I figured out this freestyle cricuting on my own and I'm pleased to share it here. Don't be afraid to try it and let me know how it works for you.


Very cool! Ty for sharing the tip:)
ReplyDeleteLooks like you had lots of fun! Love the Bambi! I wish I had at least made test cuts on all of my cartridges, there are still a few in my collection that I have never used. Great post!
ReplyDeleteGreat tip. I need to start making test cuts.
ReplyDeleteWonderful Tips! Thanks for sharing your hard work at gathering all the info and putting it in one place.
ReplyDeleteThanks everyone! I can't believe how long this post is to describe something thats pretty fast to do :)
ReplyDeleteThanks for sharing your thoughts with us!
ReplyDeleteWow- you are a dedicated crafter! Love your methods! I am a "wing it" kind of girl, but I do make notes on my handbooks -- size/color/how many fit with FTP, etc.
ReplyDeleteI will have to try this.
Love how dedicated and organized you are....thank you for sharing your awesome tips;0) Please share what cart you got that ADORABLE lion from....so cute;0)....TFS...love your blog
ReplyDelete}}}HUGS{{{, Sheri G
The lion is from "Create a critter" cartridge. A great site to find cricut cuts is http://www.mycutsearch.com/ It is way better than cricut search and cricut.com doesn't seem to have any search resource. Thanks everyone for the great feedback!
ReplyDeleteI use this site a lot and it is awesome...I, in fact, found the lion on "Life's a party" cricut cart though...but thanks for the adorable sample cut...you've enabled me to want this cart;0)....TFS
ReplyDelete}}}HUGS{{{,
Sheri G