 |
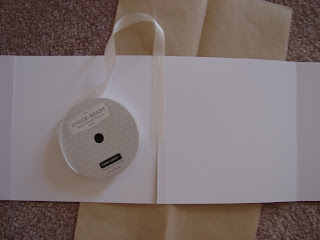
| This is the top view of an accordion growth chart book I made. One side is to show growth in actual measurement, the other side is to showcase brag pictures. I added extra accordion page with washi tape. Read along if you like and I will tell you how I built it. |
 |
| I cheated for the base and used the CTMH my creations memory showcase album z1195 as a starting point. I cut it on the middle fold to split for lengthening. |
 |
| Then I scored 3 pieces each of white daisy #1385 12"x12" cardstock at 6", turned each 90 degrees, then cut each into 2 6"x12" sheets. |
 |
| Then I joined the cardstock with CTMH Seam binding z1732 to make sturdy bendy hinges. Accordion books this long would tear at the folds, plus it makes a regular design feature. Tip: don't stretch the seam binding, and burnish well after adhering. I put a piece of kitchen parchment paper underneath so the ATG glue wouldn't gum it up sticking all together while assembling. Keeping the other pages folded together while I worked made it manageable. I cut the seam binding at an angle, started on one side, flipped it over to do other side. The finish joins in the middle, snip the other end to match when I got there. I rubbed away stray adhesive with my thumb. Very technical tool :-) |
 |
| Scrapbook papers from my stashI used to decorate. Many are old Basic grey papers, perfect for boy theme. The plain colours are recollections brand papers. I recommend minimum 3 double sided pattern papers, 3 complementary solid colours. Even smarter would be to use a paper pack where all the matching is done for you. I just squint in the sunlight & it becomes apparent who the troublemaker colours are that don't get along. |
 |
| This shows CTMH grey wool ink, on the right side it is spritzed with (distilled) water in the spray pen z1380 which softens the colour, but also it separates into component colours. Well worth trying on scrap paper to see if you like the look. |
 |
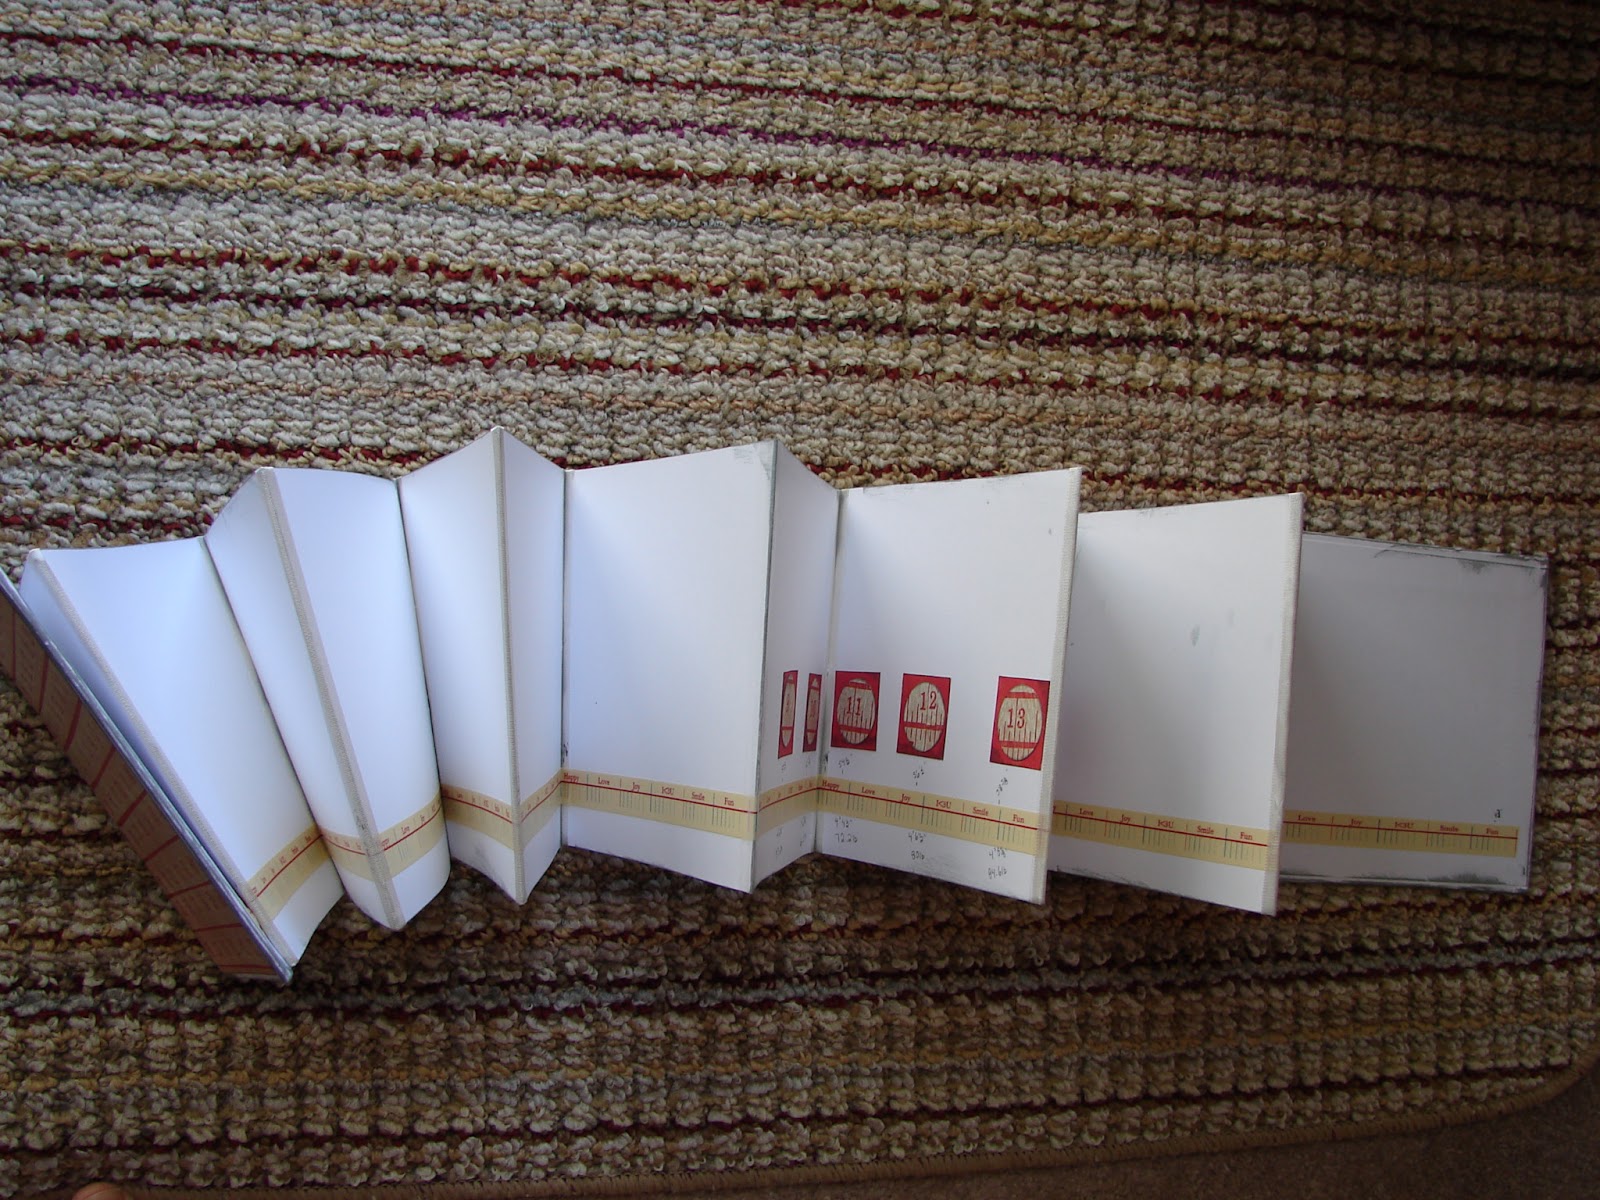
| I
did simple "direct to paper" technique, rubbing the ink pad on the papers to give a more
grunge/industrial look. I swiped it on the seam binding too. I chose grey wool colour ink for the industrial teen boy look. I deliberately did unbalanced inking with some more coverage for visual interest. This hopefully shows the book progress from original 6 pages to 12 pages long. |
 |
| This is the growth chart side. I used unknown brand washi tape to add to the tape measure look. I punched numbers from the same paper as the covers to add continuity. Age, some heights (at actual measurements) & weights are penciled in. This book is to celebrate my teenager! I just have to go back & find pictures now. |
 |
| This is the other side. I recommend taking a few days to decorate this side. Once I chose which paper was for the cover & back, I cut those 6x6" since the covers are 6.25x6.25". I struggled with paper decisions and decided to just cut the majority down to 5.5"x5.5", 5x5" and some became accordion foldouts (11x5.5") extra pages, and pockets, added in with washi tape z1817. The extras are spaced every other page. I tried to keep the colour range child to teen transition so it will complement the age range when I get pictures put in. Scraps become fake washi tape, tags, accents. I visually went with 2/3 + 1/3 or 1/2's or 1/4+ 3/4 for extra pages to add interest. I didn't measure, I just eye-balled it. To keep this monster book manageable since it opens both sides, I will probably just a hair band elastic. |
I did this project in stages, about 3-4 days (precious baby nap time). No marathon craft times for me right now. It would make a great 12 month first year baby brag book, a holiday
book, favorites collection, or even a life celebration book. Let me know if you try this, I would like to see what you tried. Thanks for looking!


Love your mini album! You will have to post this again when it is full of pictures! :)
ReplyDelete